Please complete user registration on Ustream and create a channel before proceeding with these steps.
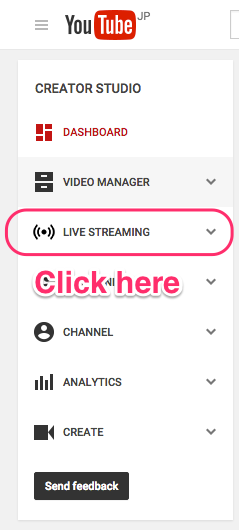
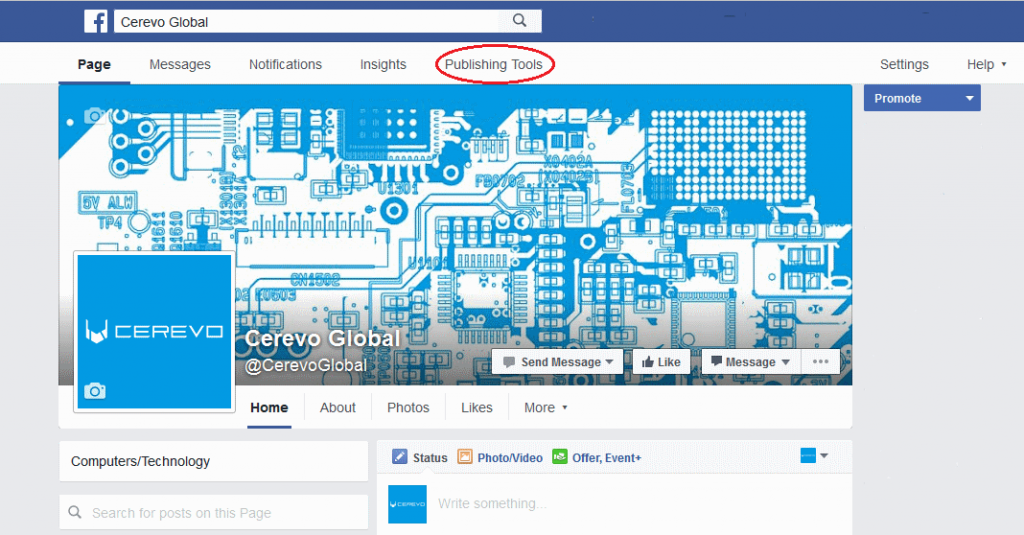
- Access http://shell.cerevo.com/login and sign in to Dashboard.
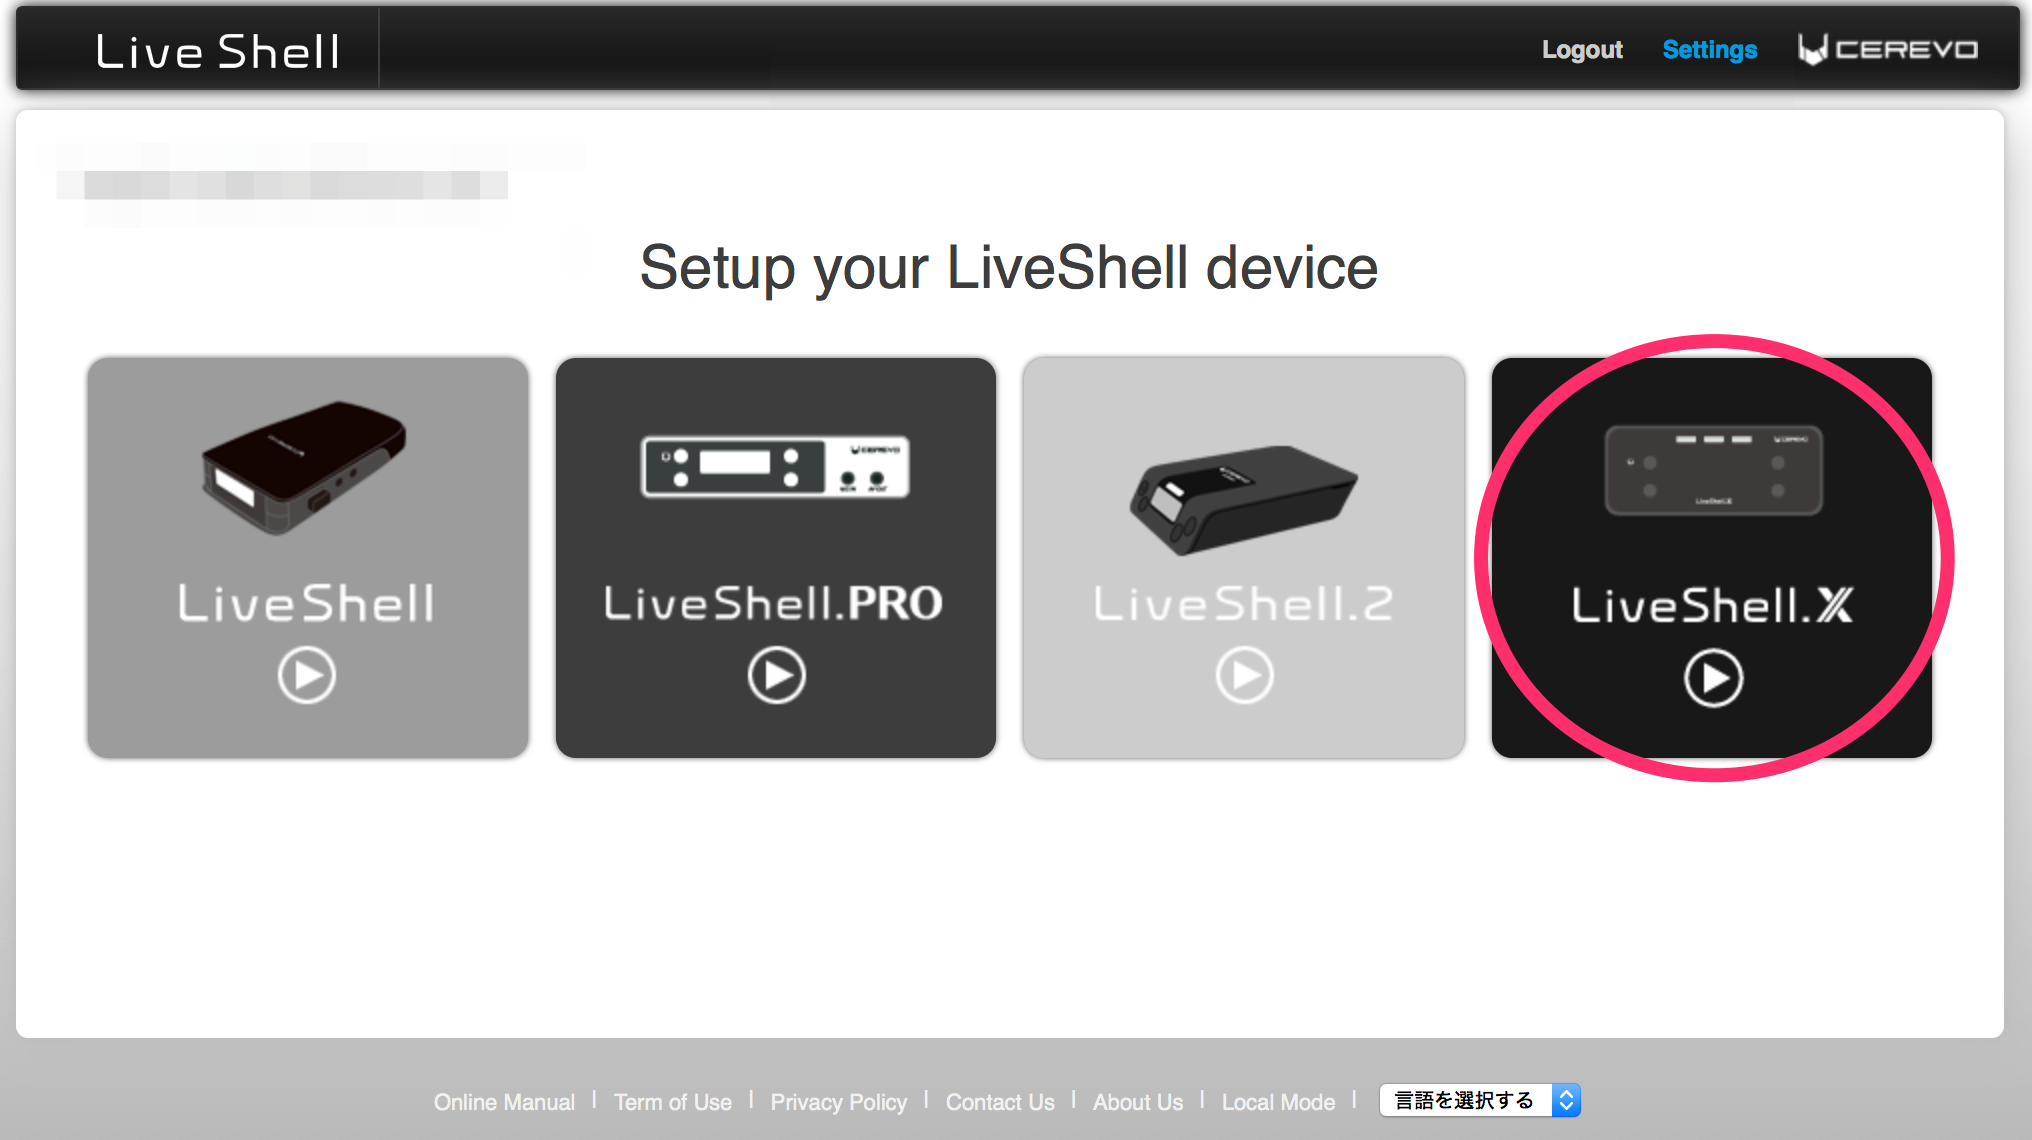
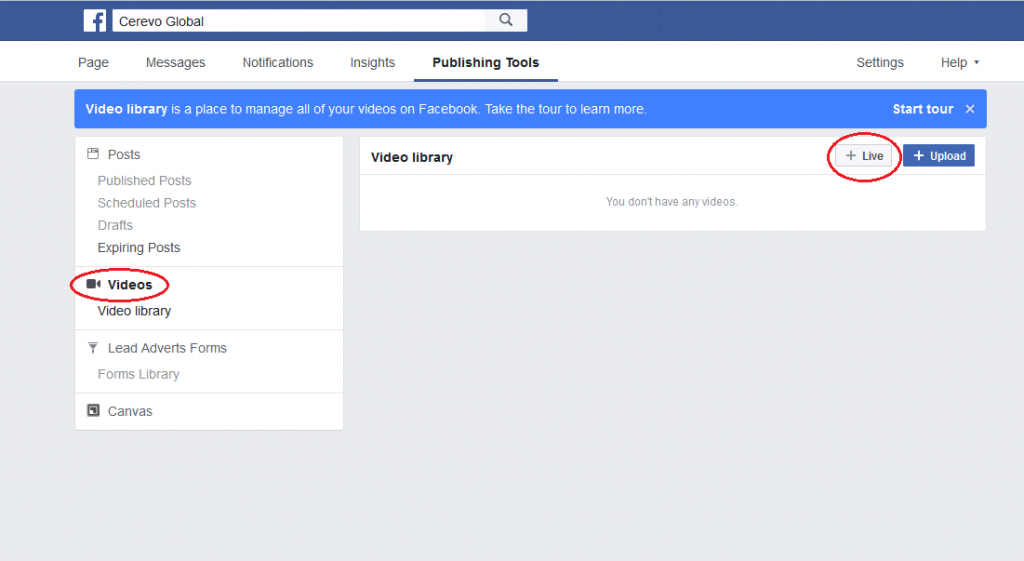
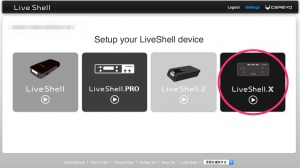
- Select “LiveShell X” from the device list.
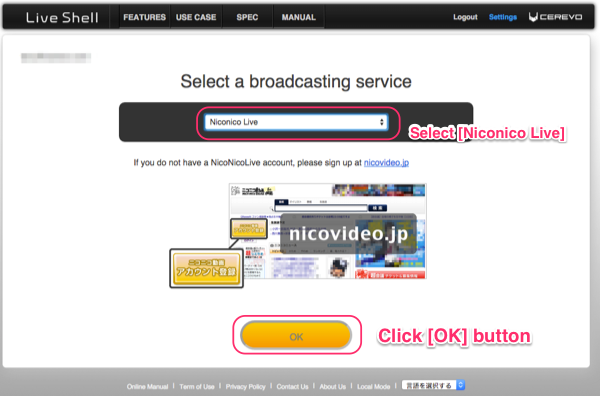
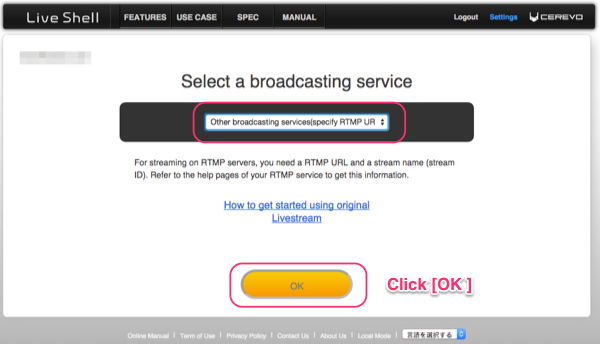
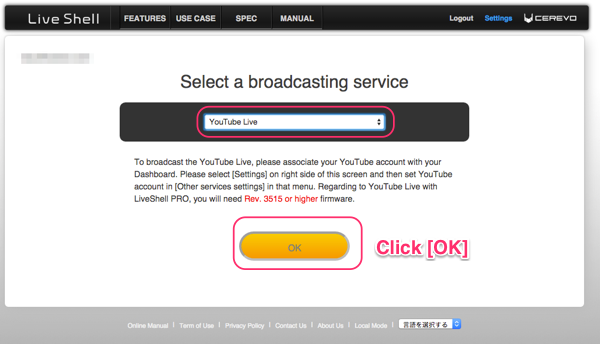
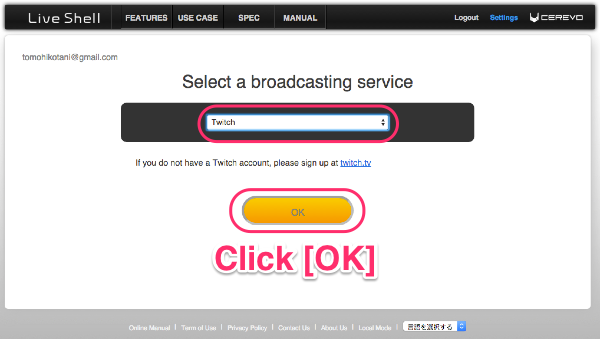
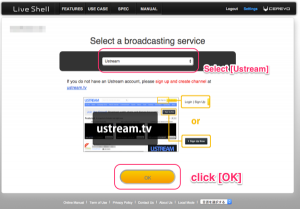
- Select [Ustream] and click the [OK] button.
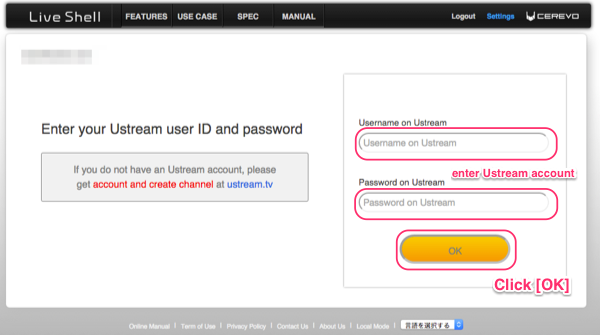
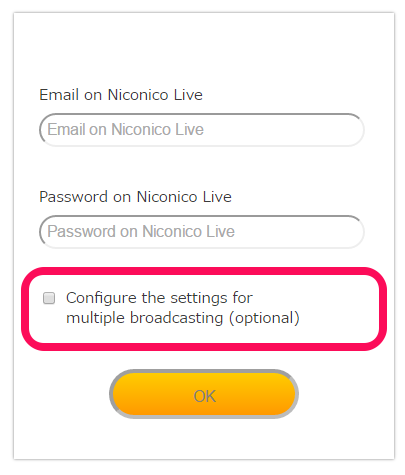
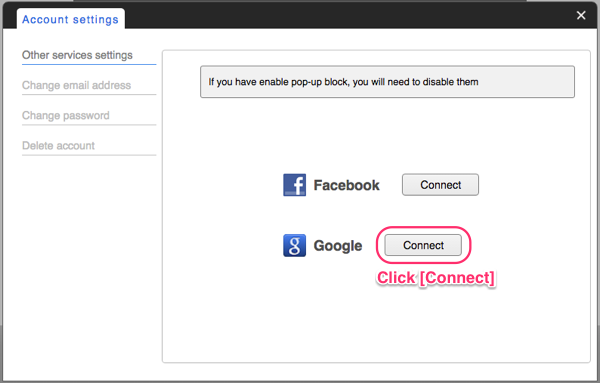
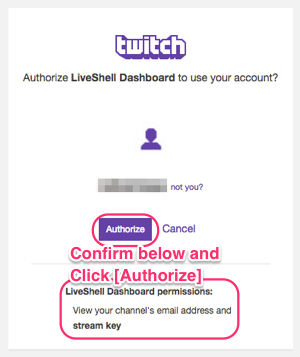
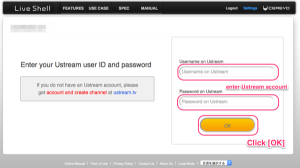
- Enter your Ustream username/email and password and click the [OK] button.
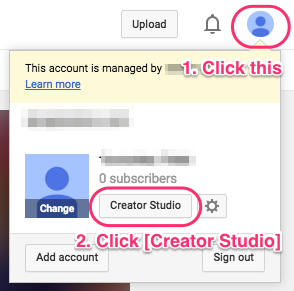
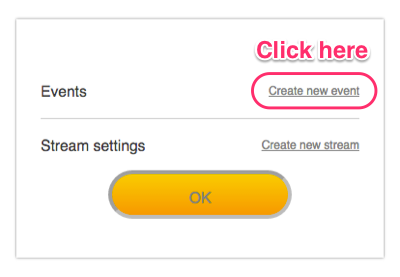
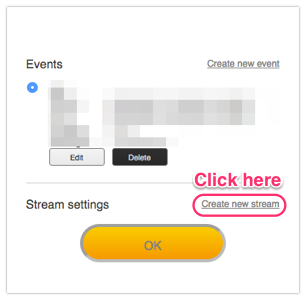
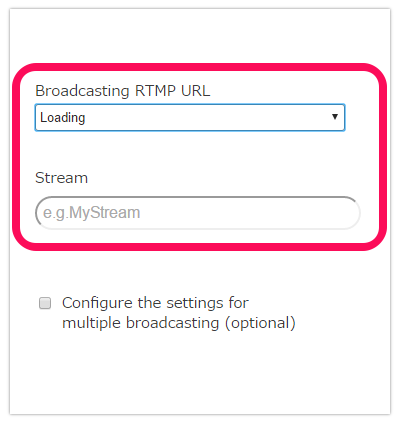
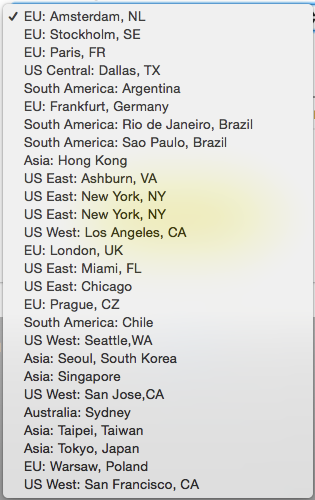
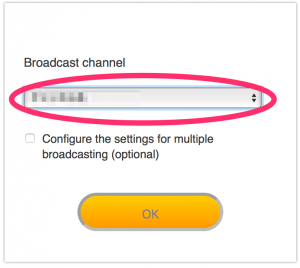
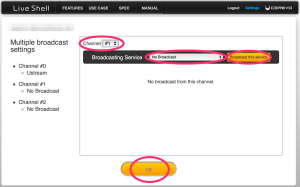
- Select a channel and click the [OK] button.
-
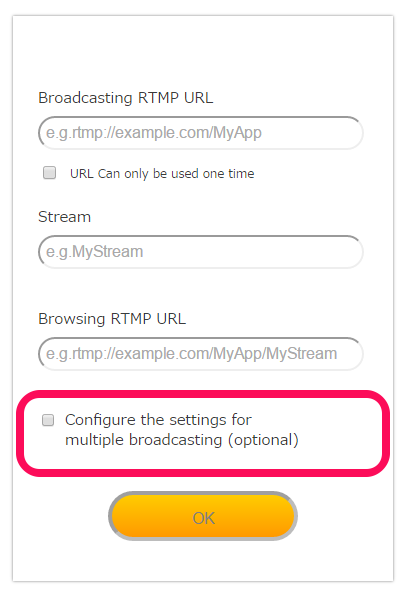
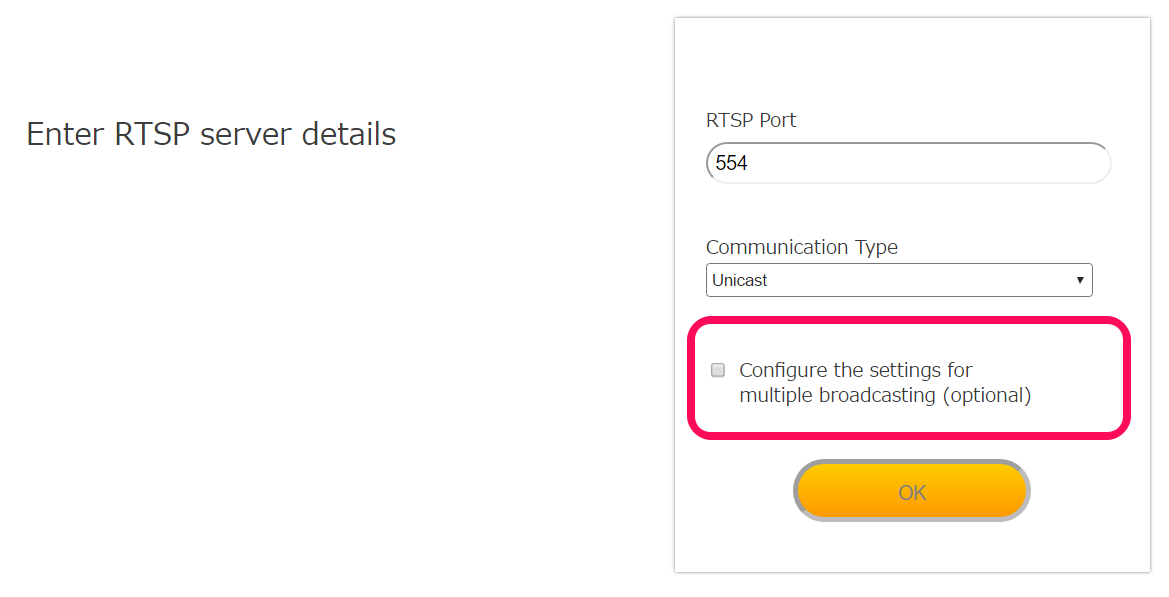
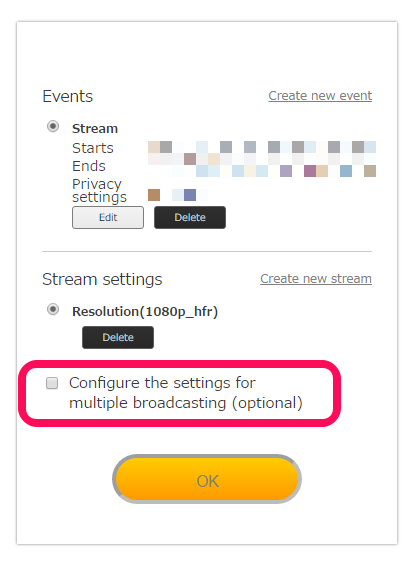
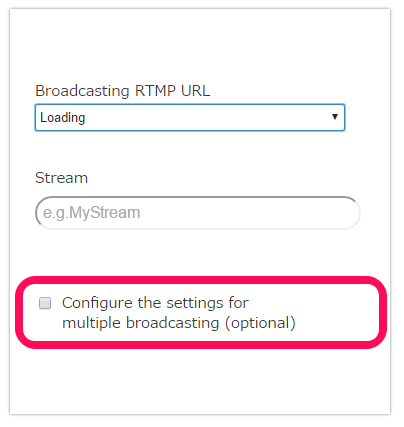
- If you want to setup multiple broadcasting, select the checkbox.
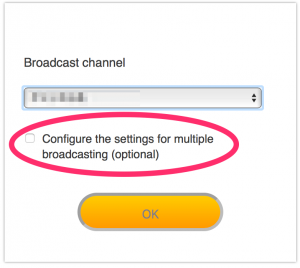
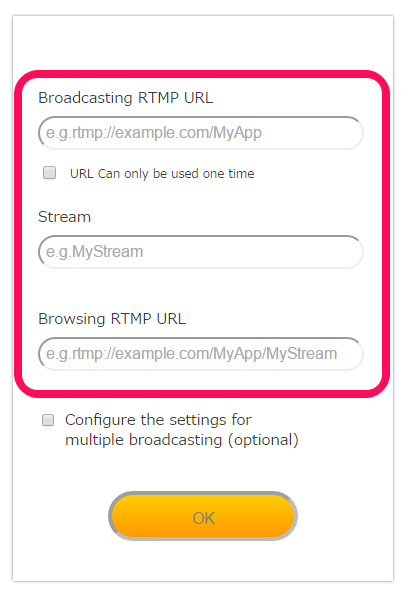
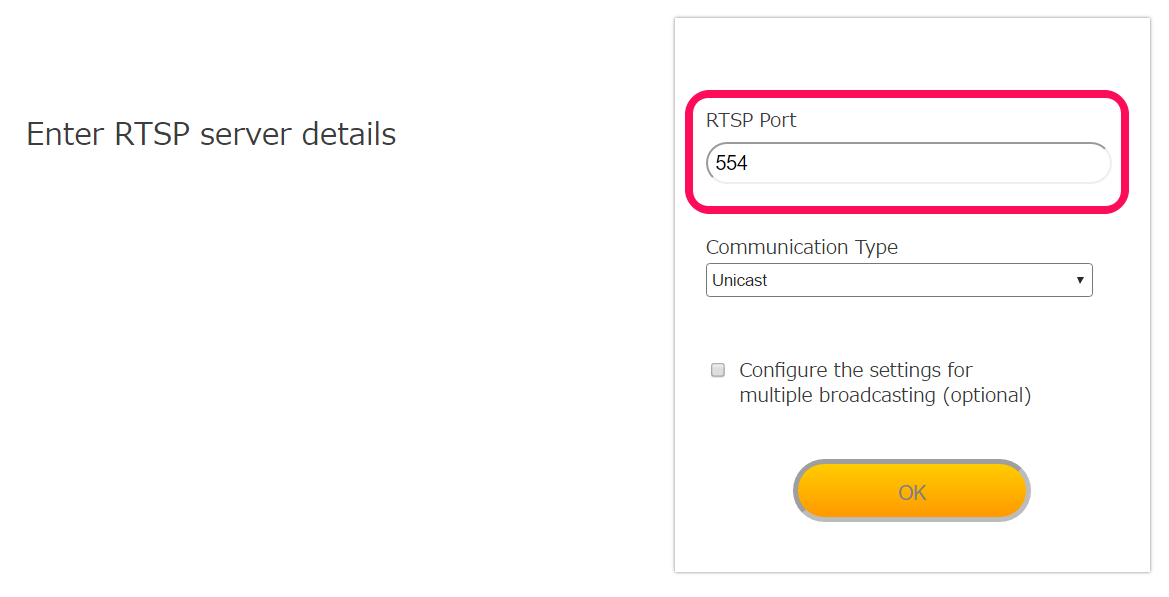
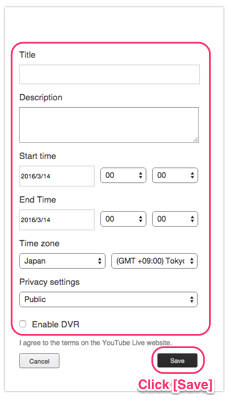
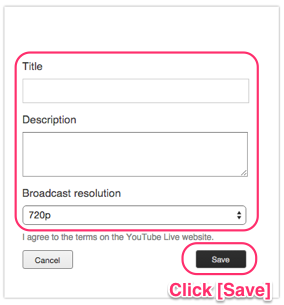
- Set the other channel information and click the [OK] button.
- If you want to setup multiple broadcasting, select the checkbox.
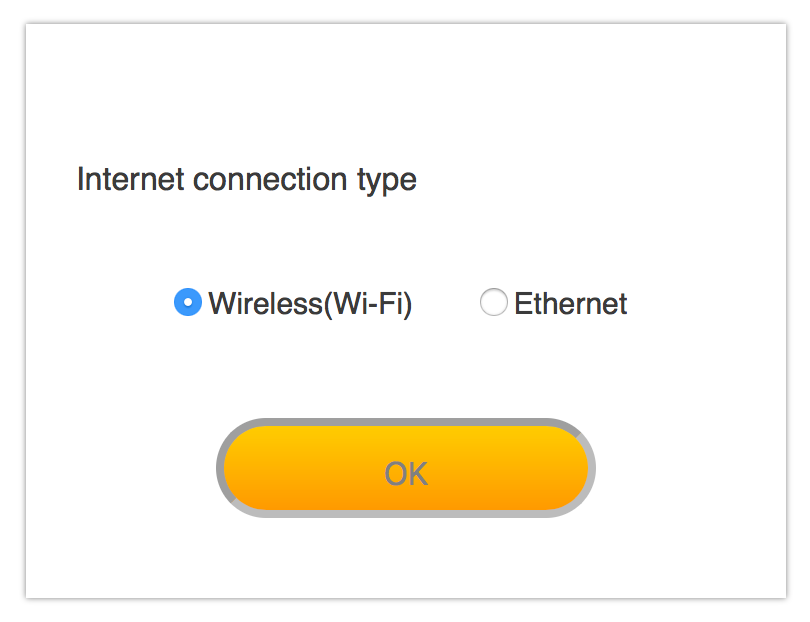
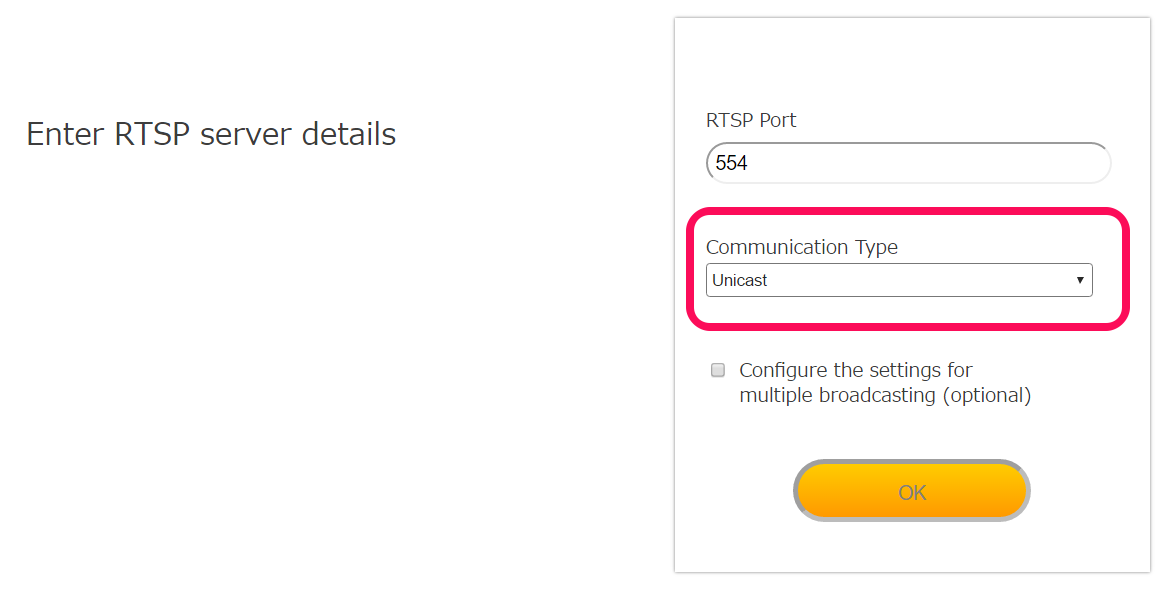
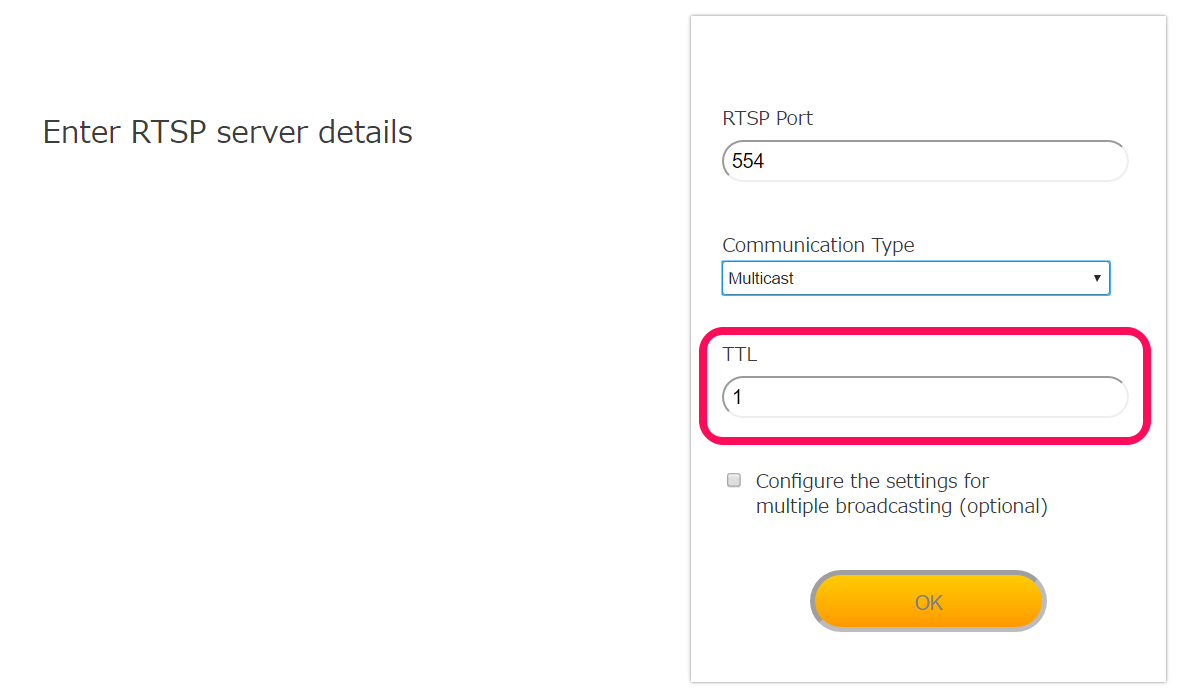
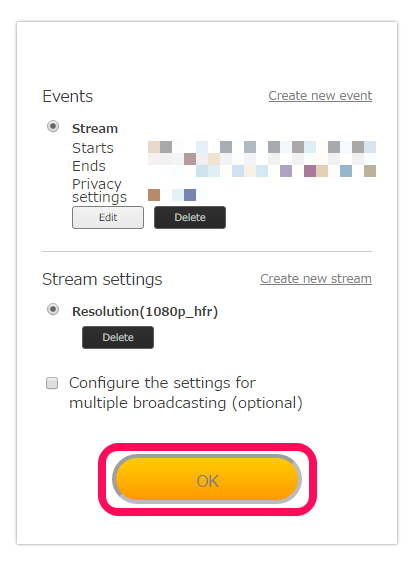
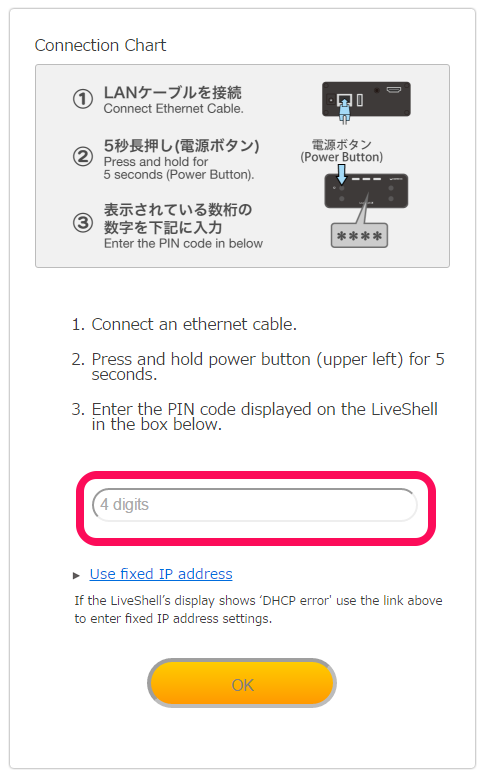
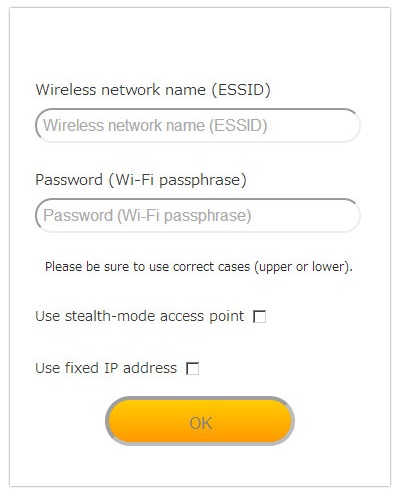
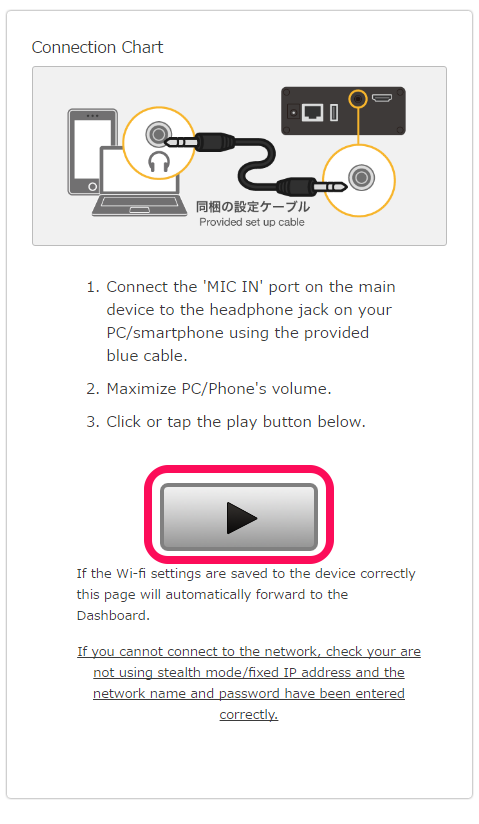
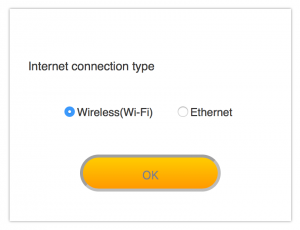
- Select an internet connection type and click the [OK] button.
- Proceed to step 2-2.