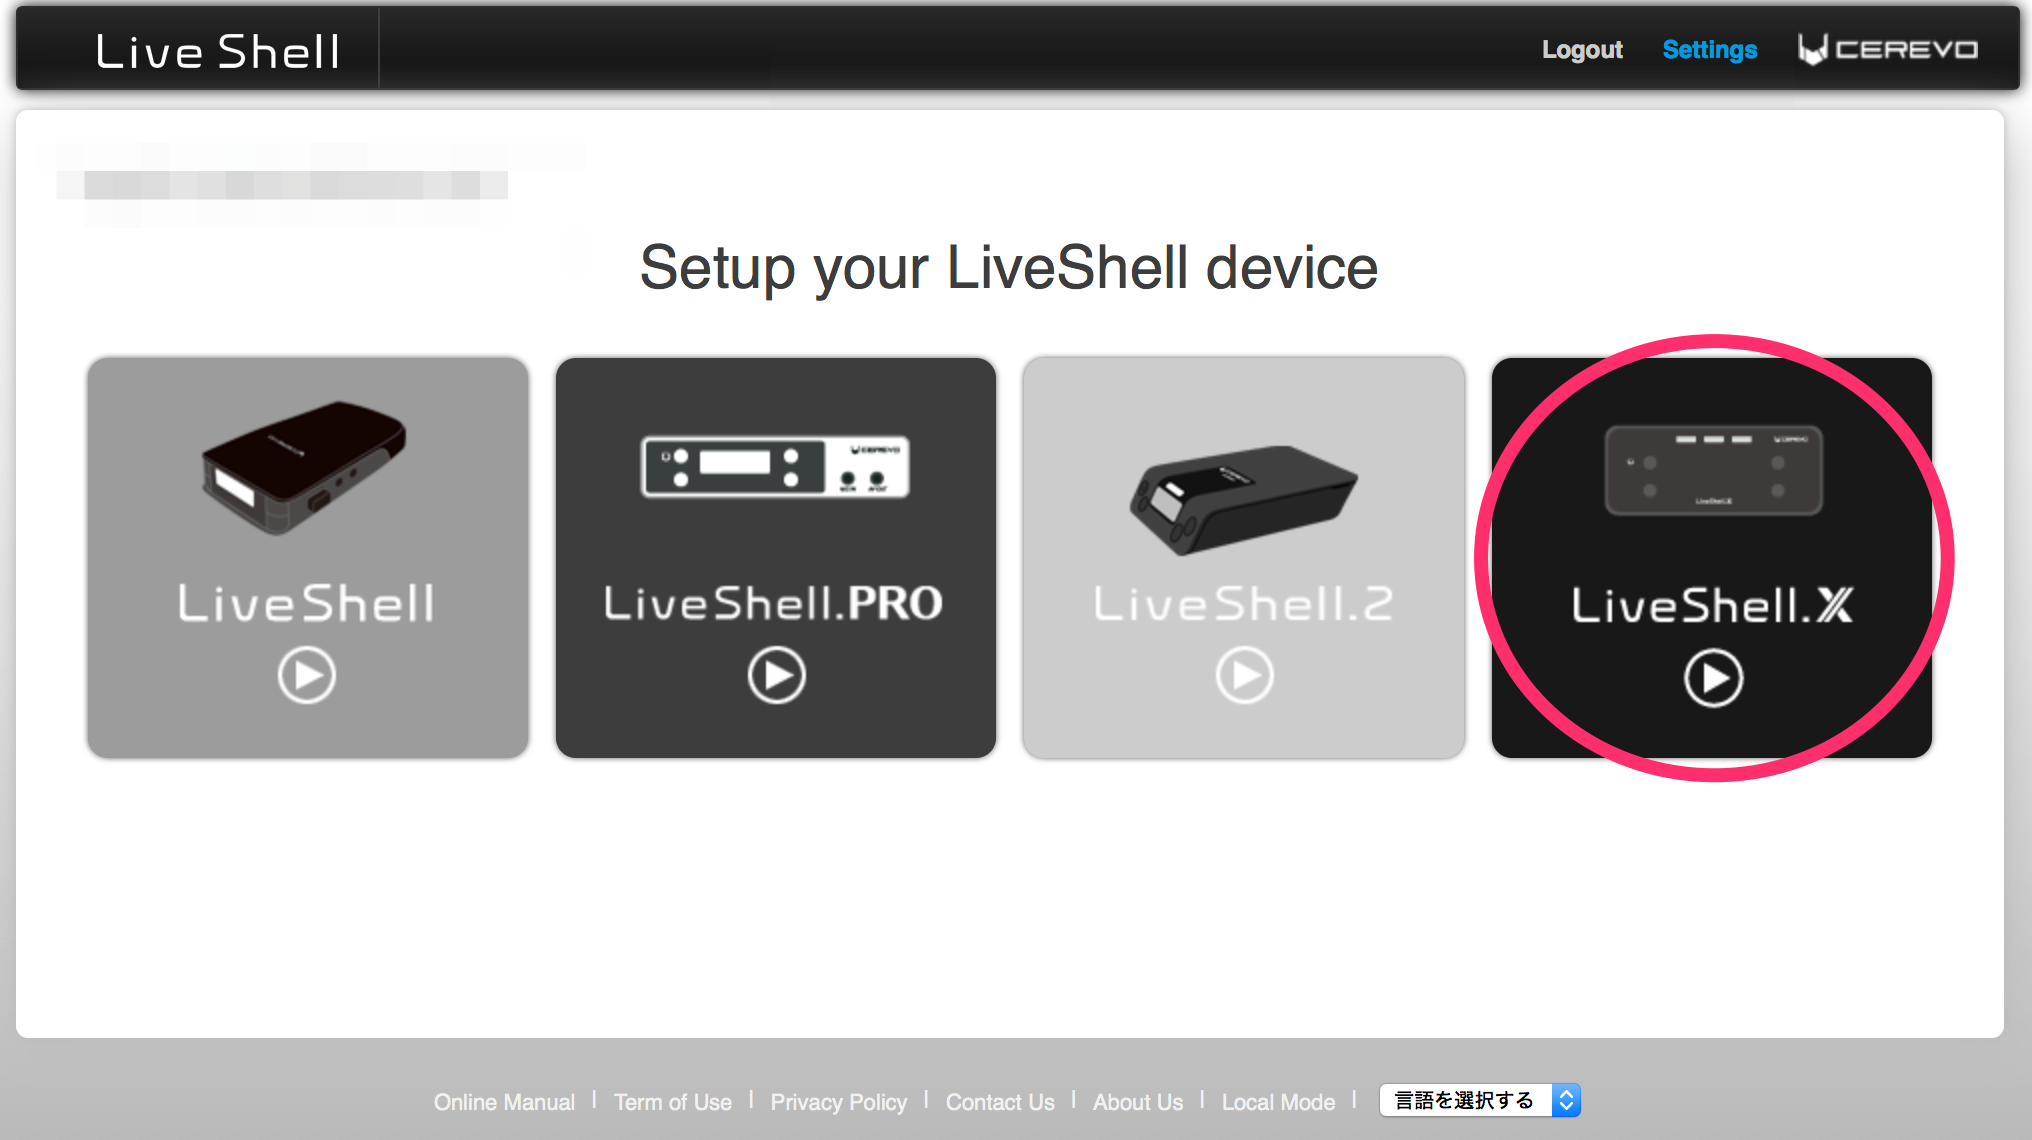
Thank you for purchasing the Cerevo LiveShell X.
This online manual is for LiveShell X with firmware version Rev.2090 or earlier.
For information on how to operate and configure LiveShell X with firmware version Rev.3000 or later, please refer to the online manual below.
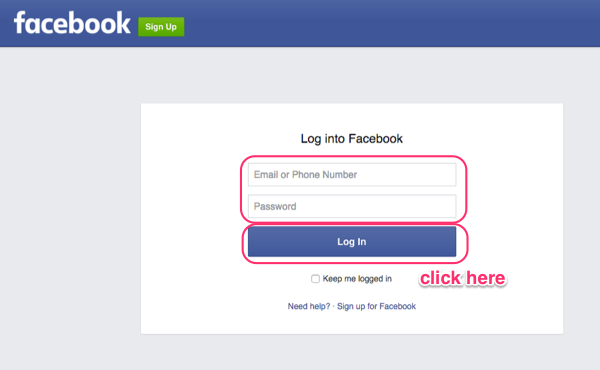
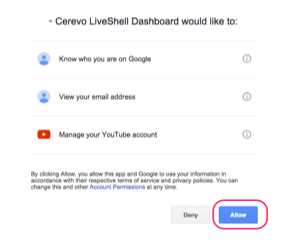
See this page for ongoing issues with Google account
Please be sure to read these instructions thoroughly and keep them where they will be read by all who use the product.