Currently, due to a specification change on the platform side, only live-streaming via RTMP URLs, etc. is possible.
We will inform you of the normal live-streaming method as soon as it is available.
▶︎How to live-streaming at RTMP URLs
We will inform you of the normal live-streaming method as soon as it is available.
▶︎How to live-streaming at RTMP URLs
- Access to http://shell.cerevo.com/login and sign in Dashboard.
- Open another window or tab and login Twitch.If you don’t have account, sign up and login Twitch.
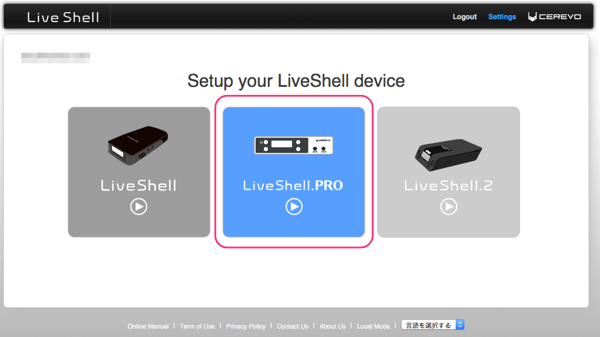
- Select “LiveShell PRO”.

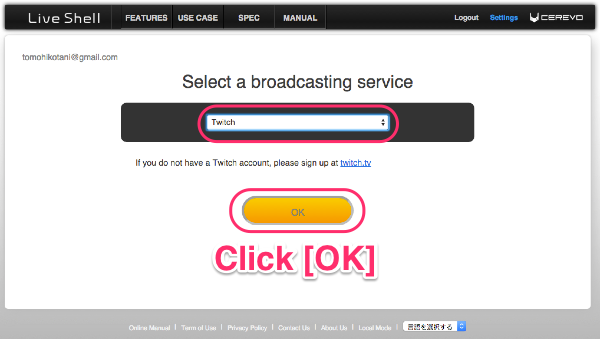
- Select [Twitch].

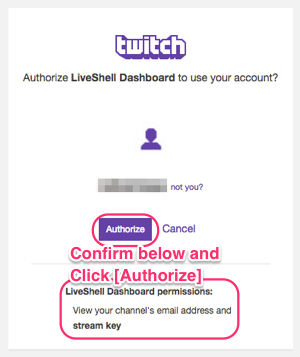
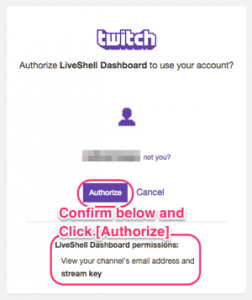
- You will see pop-up window to ask you give your Twitch information to our Dashboard.Click [Authorize] button.
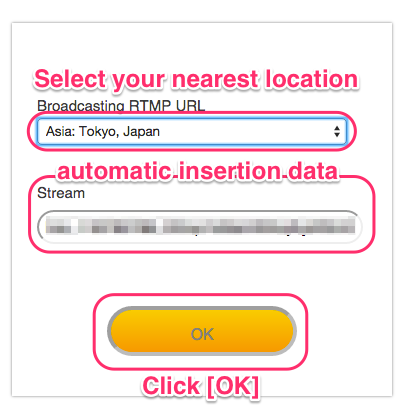
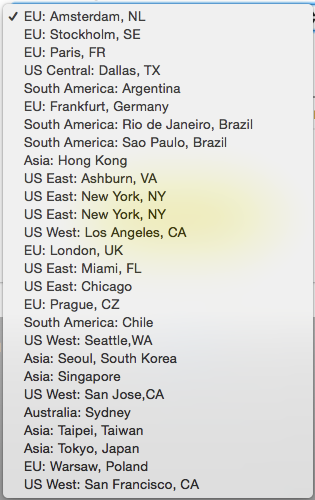
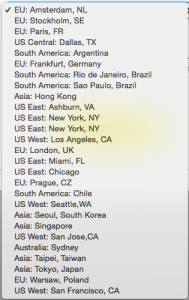
- Dashboard automatically insert streming information(Stream) and then you need to select the closest server location to where you will broadcast from
info [Broadcasting RTMP URL]

- Select an internet connection type.
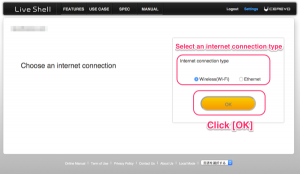
- Proceed to step 2-2.
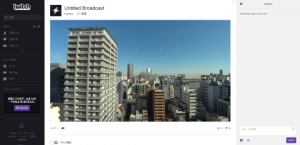
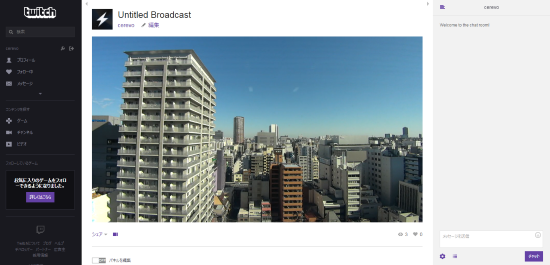
- When you finished section 2-3. network setting, then you will see Dashboard main panel, but due to Twitch’s operation restriction, you cannot see preview in your Dashboard.But needless to say that you can control bitrate, or all of other settings in your Dashboard.To check preview, would you please refer to Twitch Dashboard (https://www.twitch.tv//dashboard ).