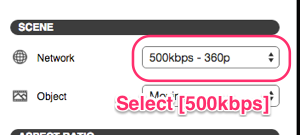
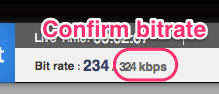
LiveShell 2 bandwidth requirements
If the network upload speed is around 300kbps broadcasting at 3~5fps video with low quality sound will be possible. For high quality HD live streaming an average upload speed of 2Mbps is required.
LiveShell 2 network requirements
Please check with the network administrator about communication availability for the following ports on the server.
* Port forwarding isn’t needed.
LiveShell 2 works normally with NAT.
LiveShell 2 does not support streaming on networks using proxy server.
The following ports and domains should be reachable to enable live streaming (other live streaming services may require additional ports to be open).
- LiveShell 2:
- Common settings
- s.cerevo.com, shell.cerevo.com
- wss02-shell.cerevo.com
- Ustream:
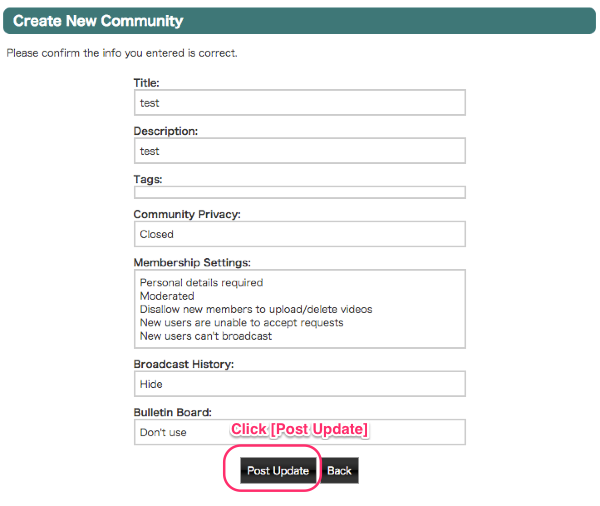
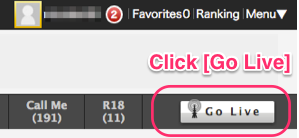
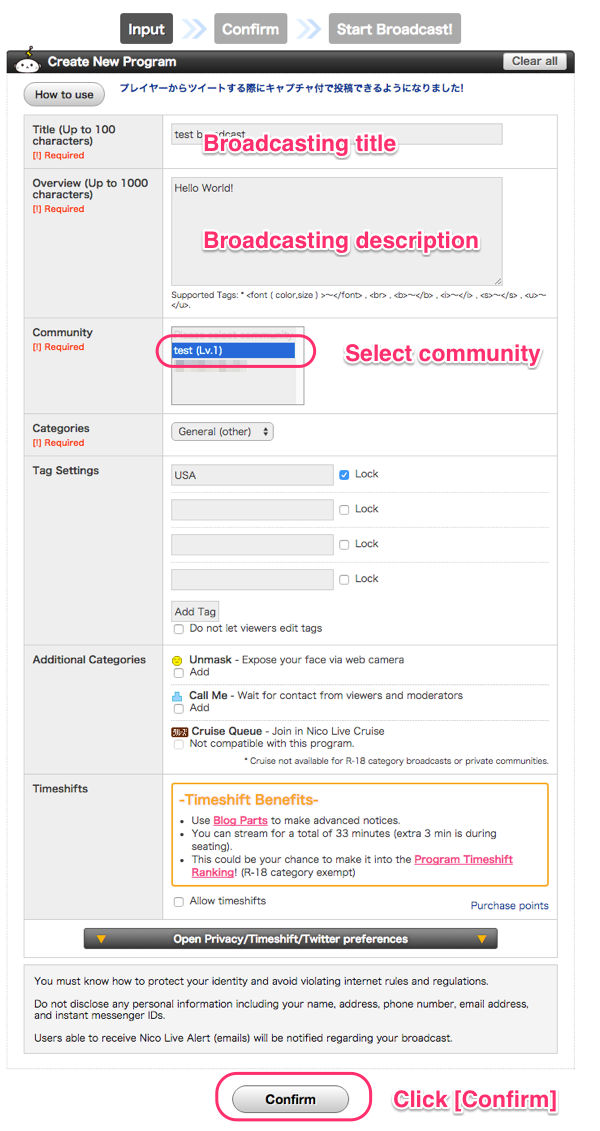
- Niconico Live:
- live.nicovideo.jp, *.live.nicovideo.jp
- Dashboard (via web browser):
- s.cerevo.com, shell.cerevo.com, wss02-shell.cerevo.com
Nothing happens during network setup when playing back audio
Set the audio level on your PC, Mac or smartphone to maximum.
Check if the audio cable is firmly connected to both devices.
Do not playback other audio or video on your PC, Mac or smartphone during network setup.
If setting up a Wi-Fi connection, remove any ethernet LAN cable connected to your LiveShell 2.
After Wi-Fi setup, LiveShell 2 says “LIVE” but Dashboard main panel is not shown
Exit your web browser and access https://shell.cerevo.com/login again.
Echoing in Audio
Make sure you do not have the Dashboard main panel and the Ustream broadcast screen open at the same time in separate windows or tabs.
Close one of the screens or turn the volume in one of them down to zero, and then check again.
Turn the volume to zero for either screen using the Volume tab in the Dashboard main panel.
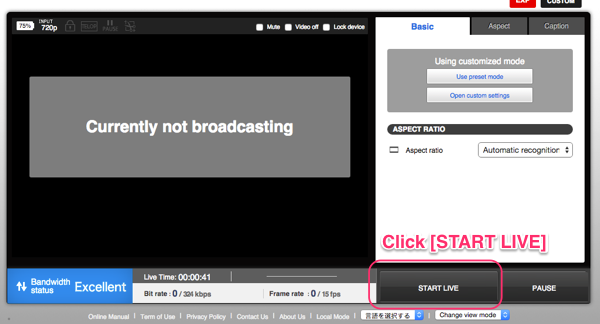
Can’t broadcast video and audio but Ustream site says “LIVE”
Make sure your video camera is powered ON and disable any auto power off functions.
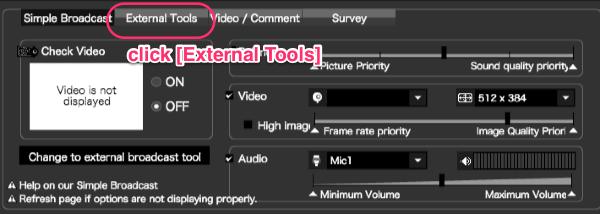
Do not use Ustream Broadcaster at the same time as Dashboard.
Set another Ustream channel to your LiveShell 2 and check if you can broadcast without problem.
Livestream service compatability
LiveShell 2 supports only Original (http://original.livestream.com/guide/livetv) Livestream, not new Livestream.
New Livestream cannot be used with 3rd party encoders so LiveShell 2 cannot support it.