Currently, due to a specification change on the platform side, only live-streaming via RTMP URLs, etc. is possible.
We will inform you of the normal live-streaming method as soon as it is available.
▶︎How to live-streaming at RTMP URLs
We will inform you of the normal live-streaming method as soon as it is available.
▶︎How to live-streaming at RTMP URLs
Please complete user registration on Twitch before proceeding with these steps.
- Access http://shell.cerevo.com/login and sign in to Dashboard.
- Open another browser window or tab and log in to Twitch.
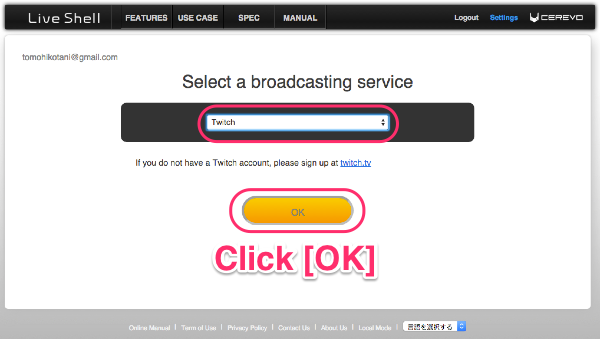
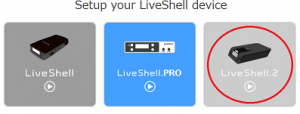
- Select [LiveShell 2] from the device list.
- Select [Twitch].

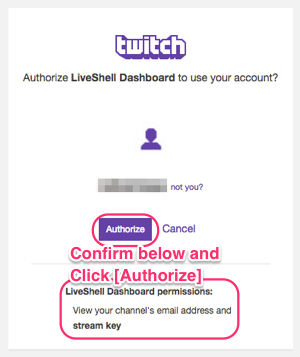
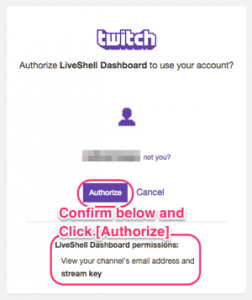
- You will see a pop-up window asking you to authorize Dashboard to use your Twitch account, click the [Authorize] button.
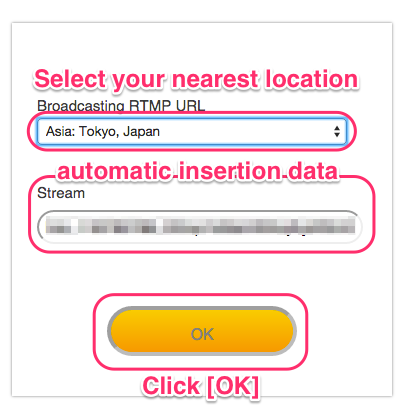
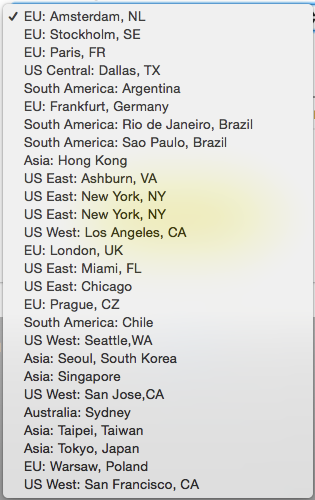
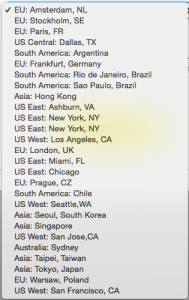
- Dashboard will automatically insert streming information (Stream), you need to change the [Broadcasting RTMP URL] to your nearest location.

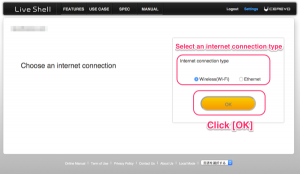
- Select an internet connection type.
- Proceed to step 2-2.
- After completing section 2-3. Network settings, you will see the Dashboard main panel, however due to Twitch restrictions you cannot see a preview on your Dashboard. Bitrate, resolution and all other settings can still be controlled via Dashboard. To see a preview, please go to the Twitch Dashboard (https://www.twitch.tv/dashboard).