Operation via Dashboard
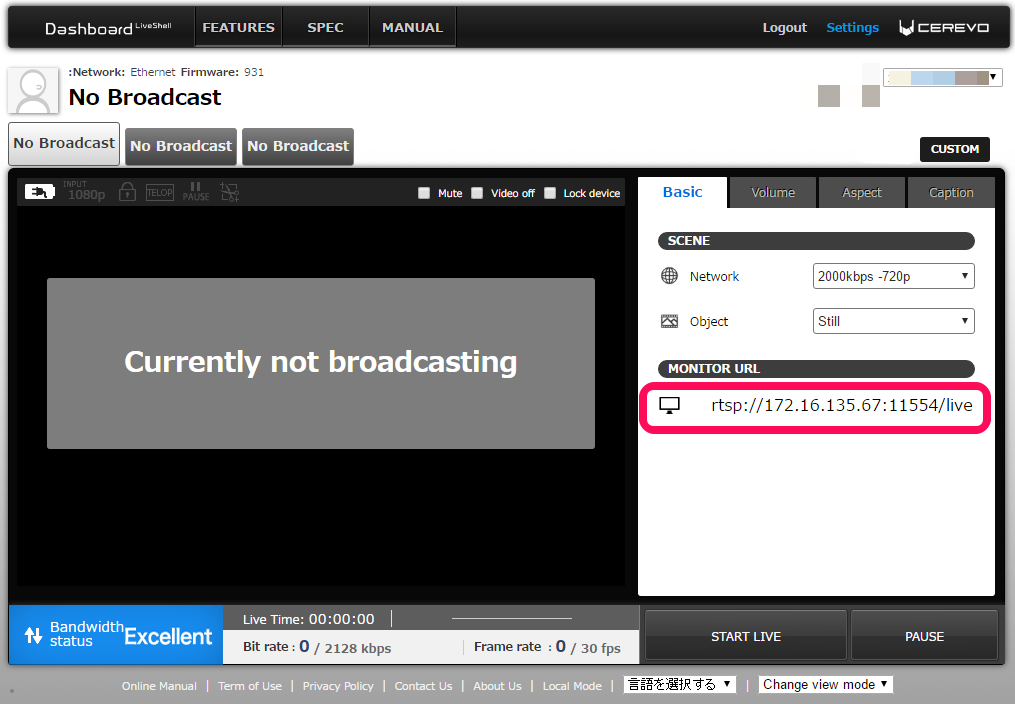
How view RTSP player URL:
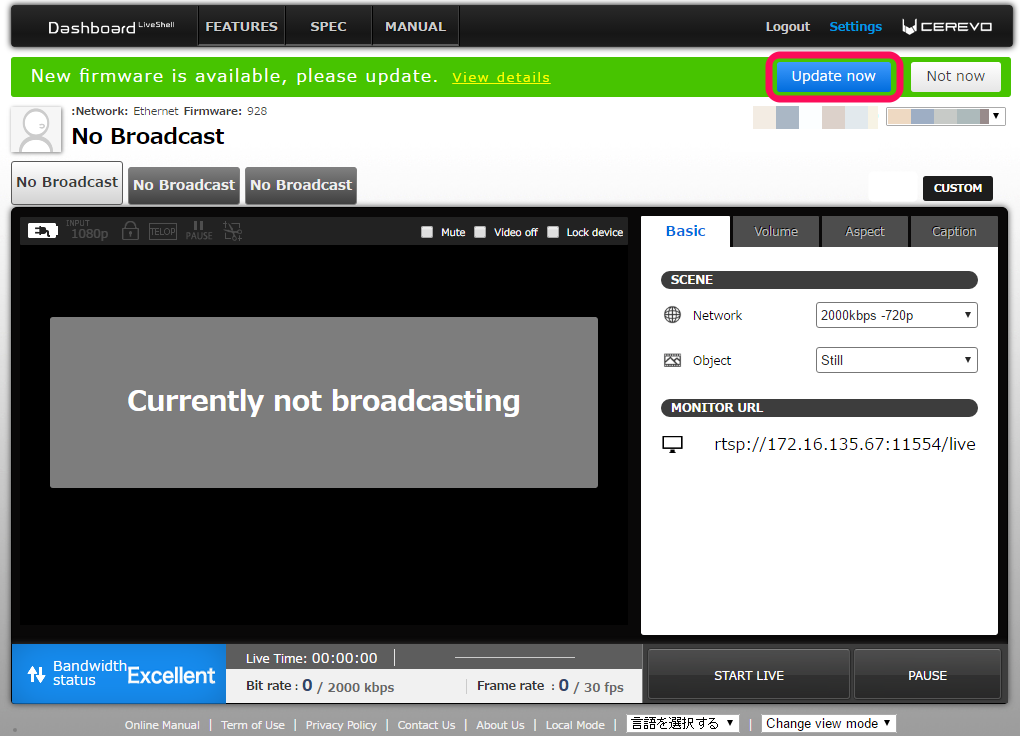
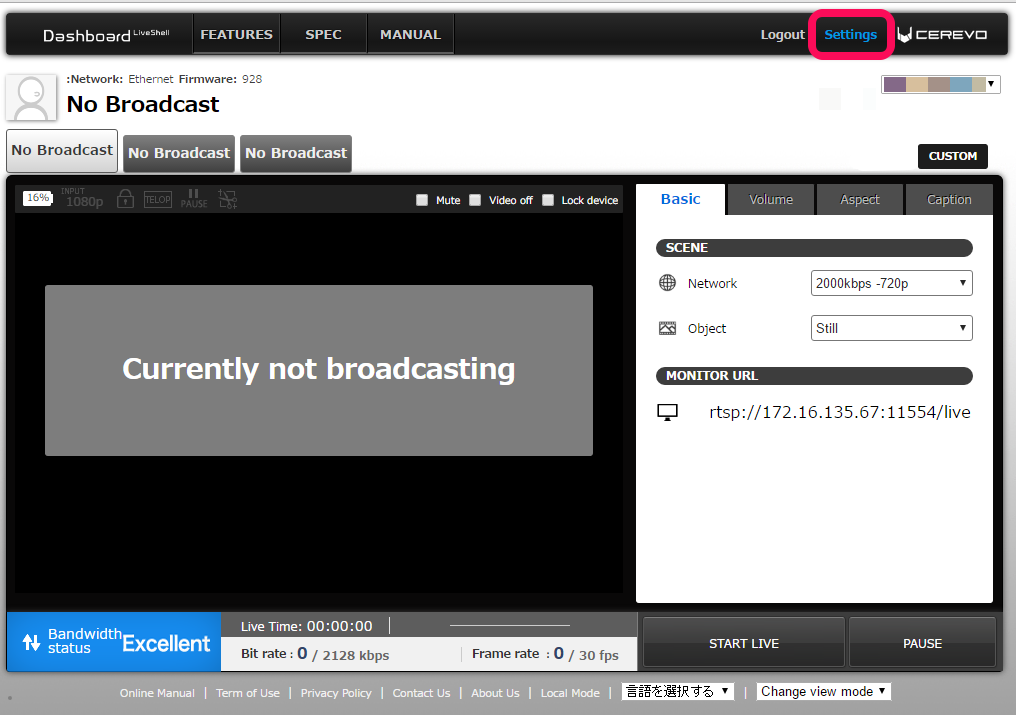
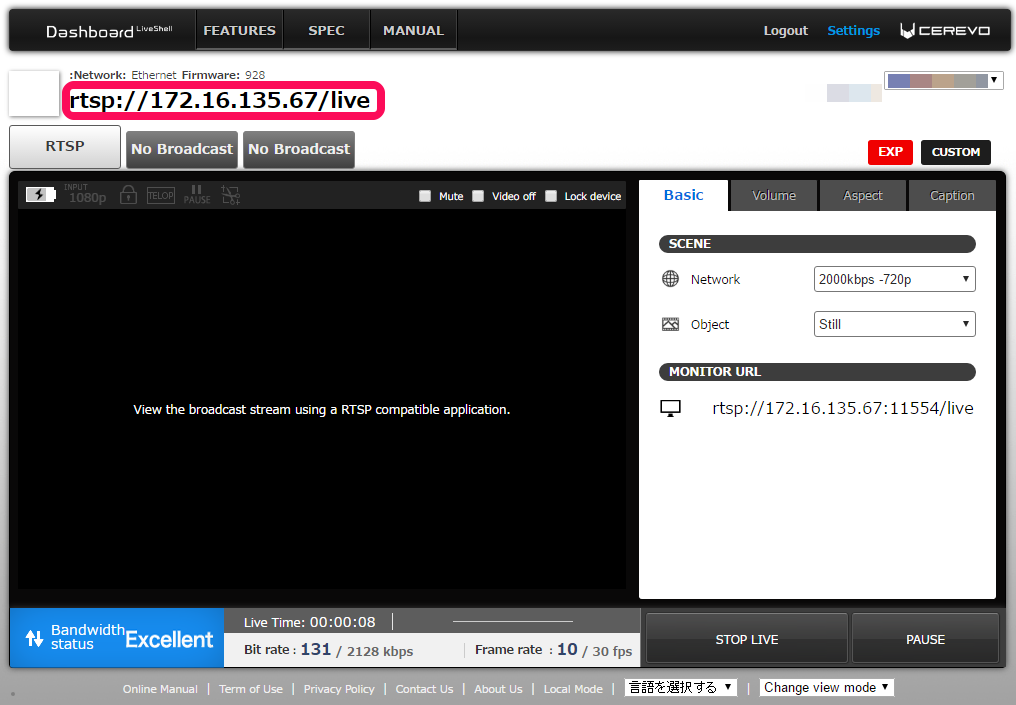
Copy the “MONITOR URL” on the left hand side of Dashboard into your RTSP player.
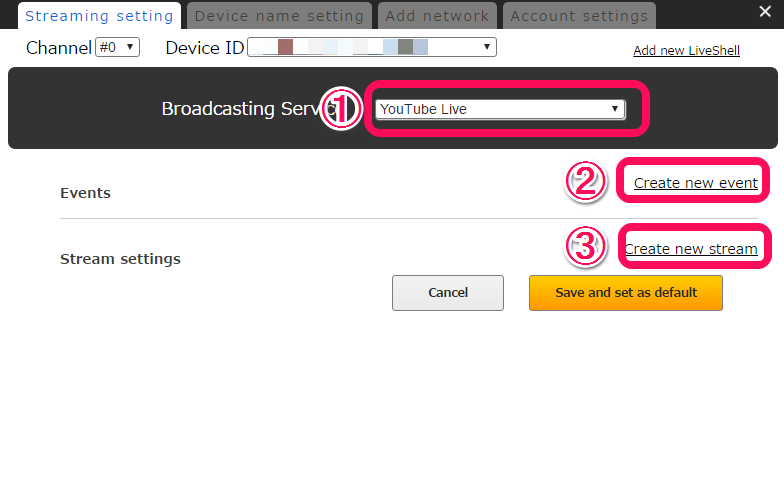
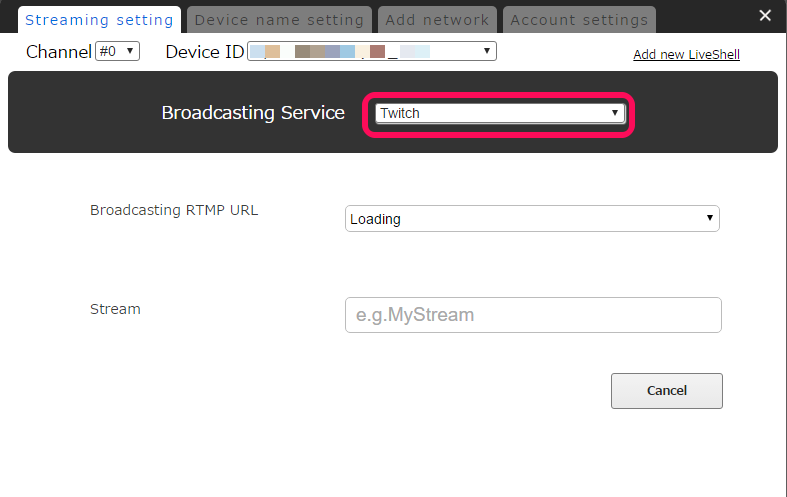
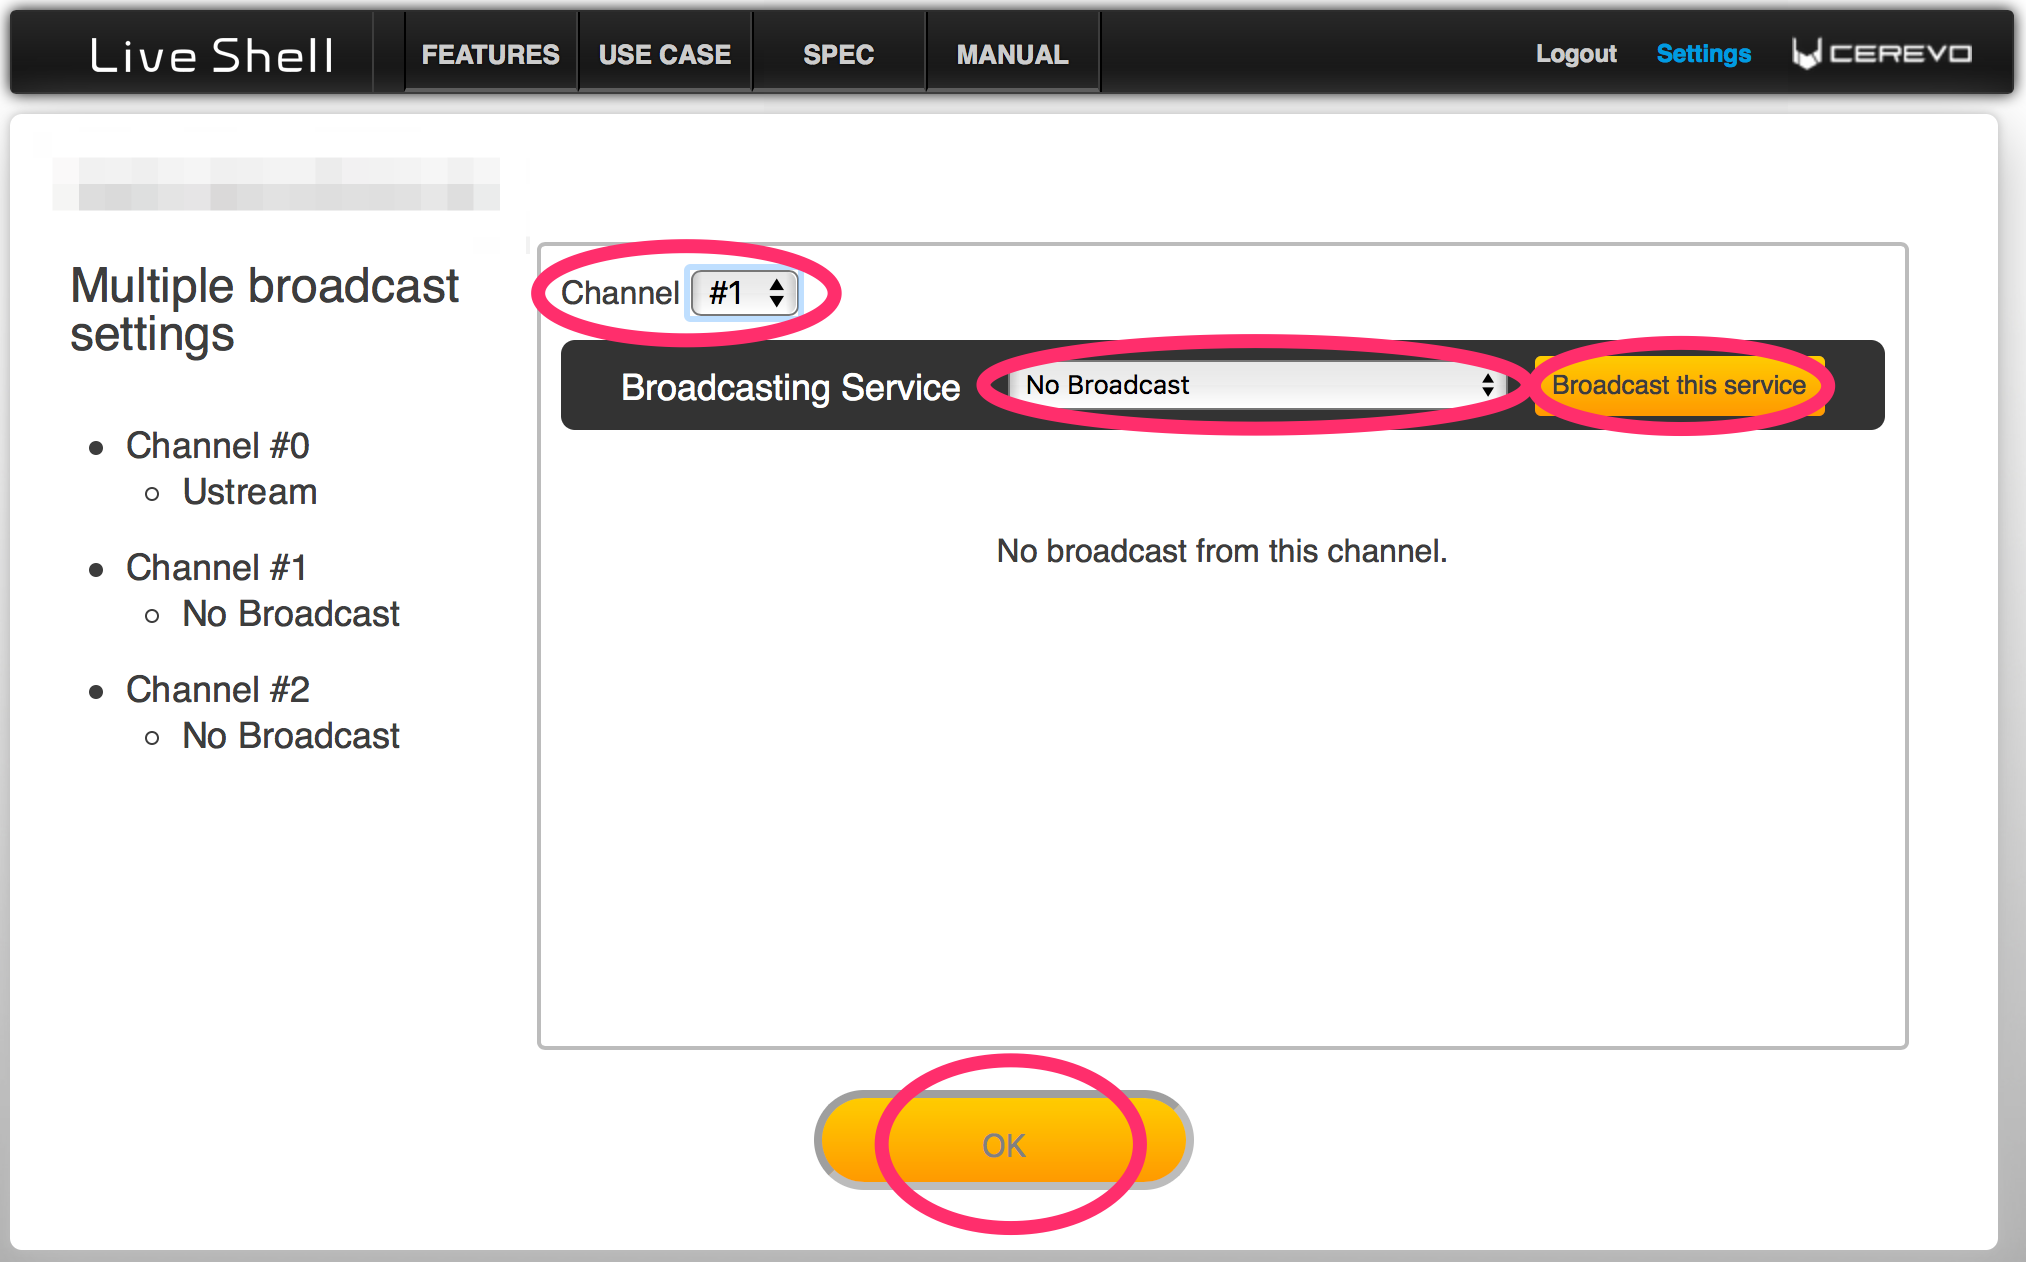
How to change live streaming channel settings:
- Click “Settings” on the top right of Dashboard.
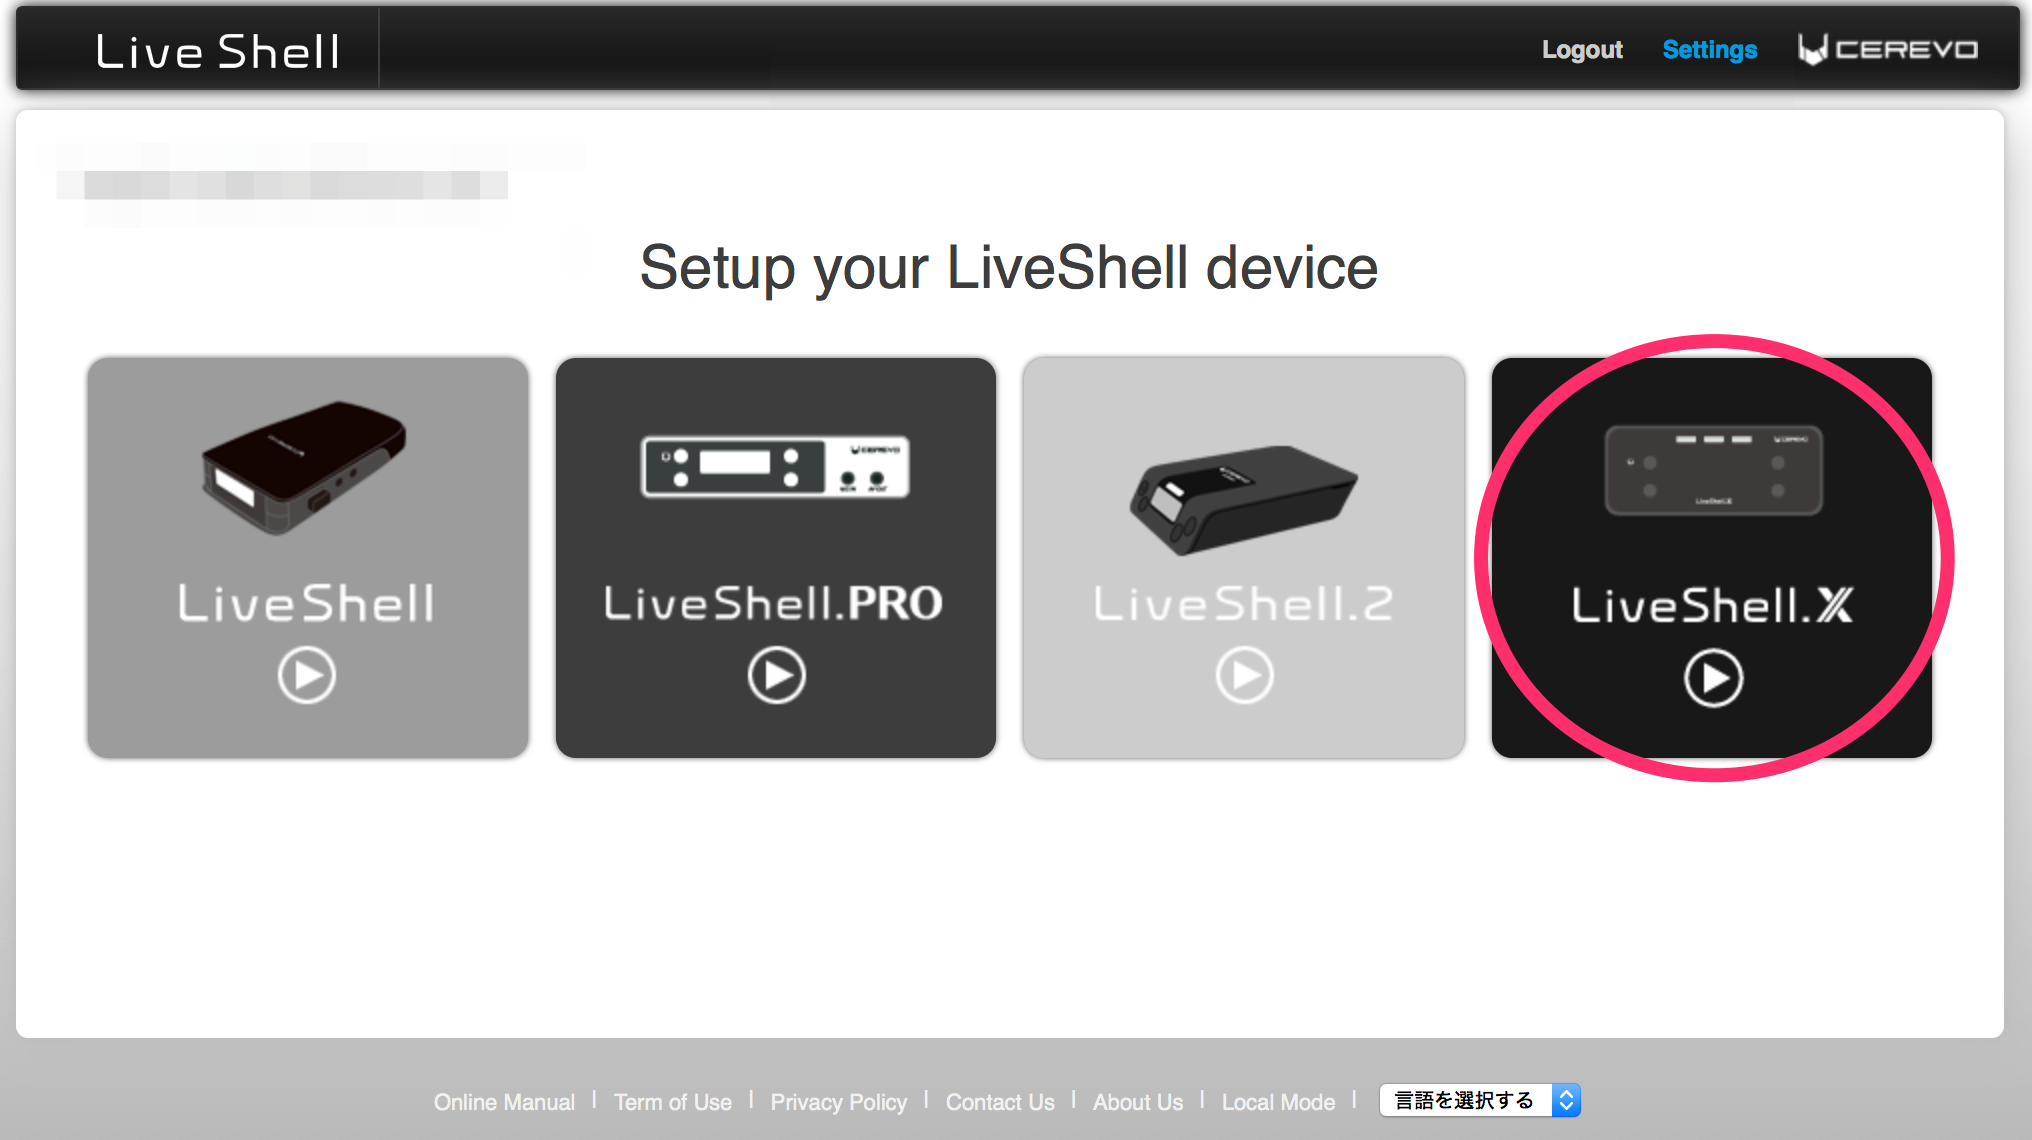
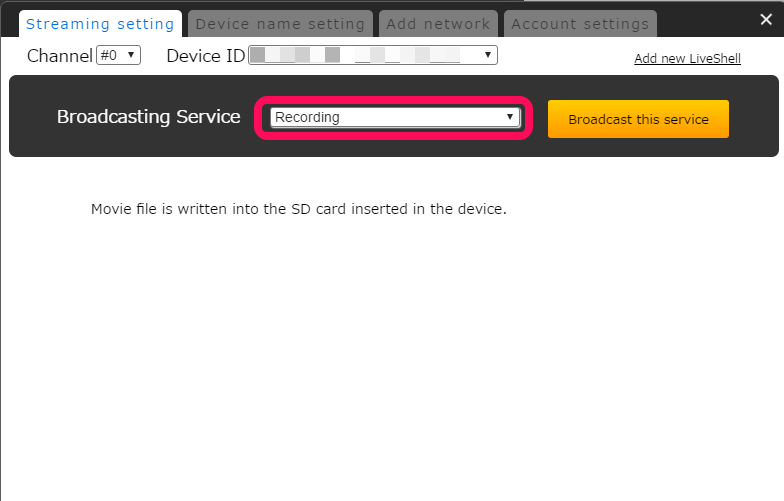
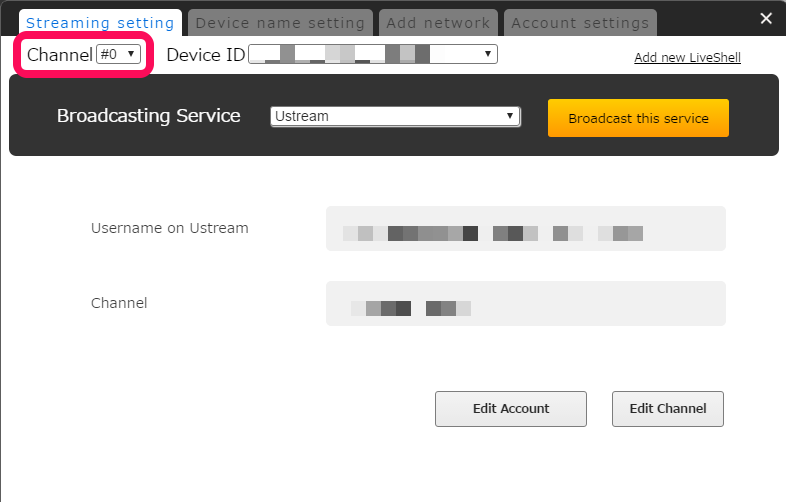
- Select the channel you want to setup.
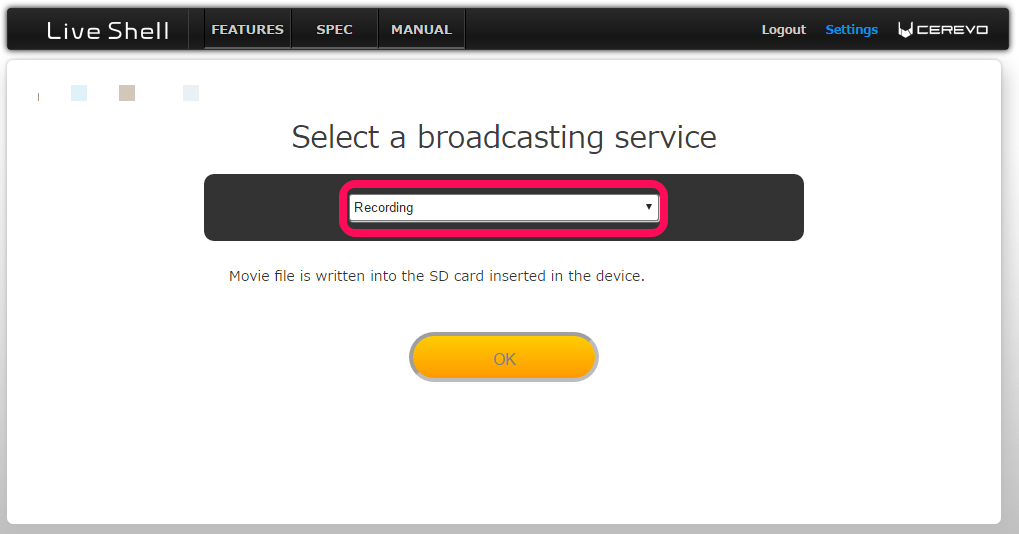
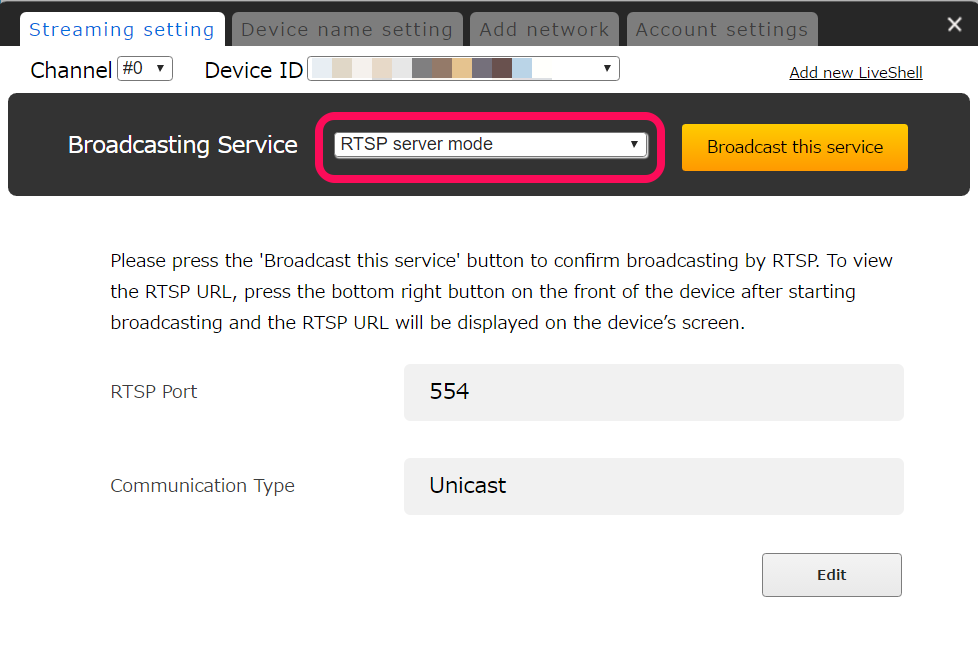
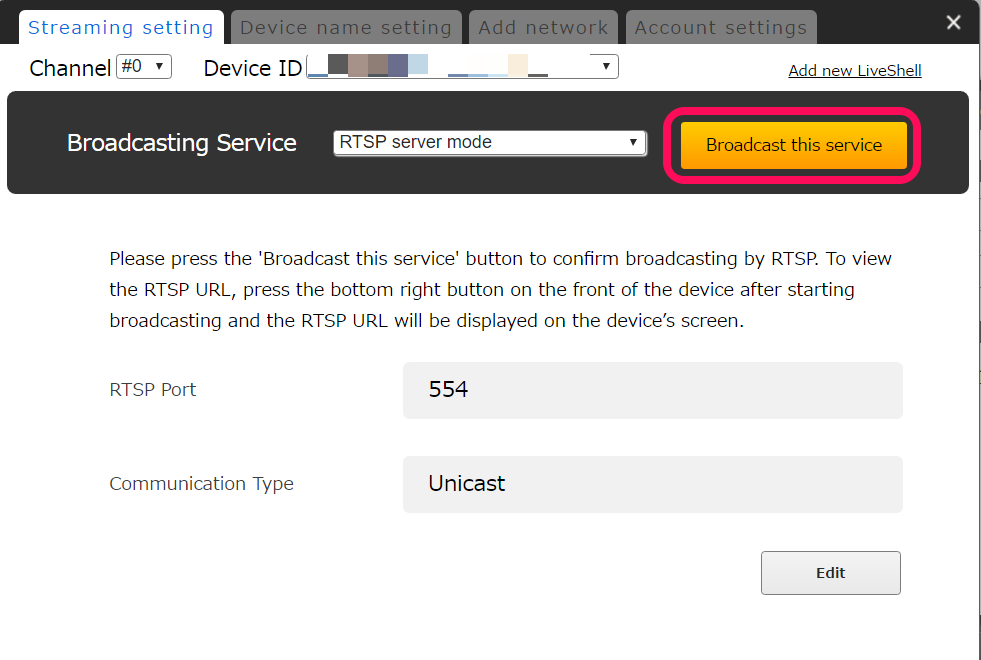
- Select [RTSP server mode] from the pulldown list of broadcasting services.
-
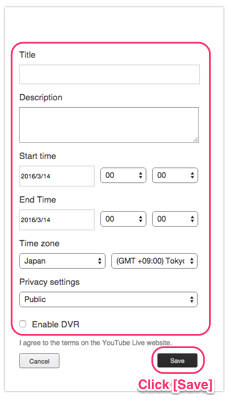
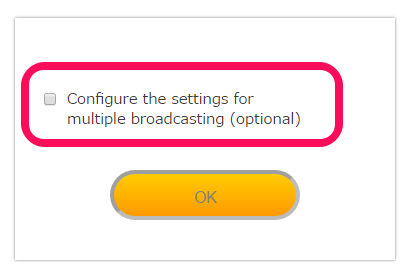
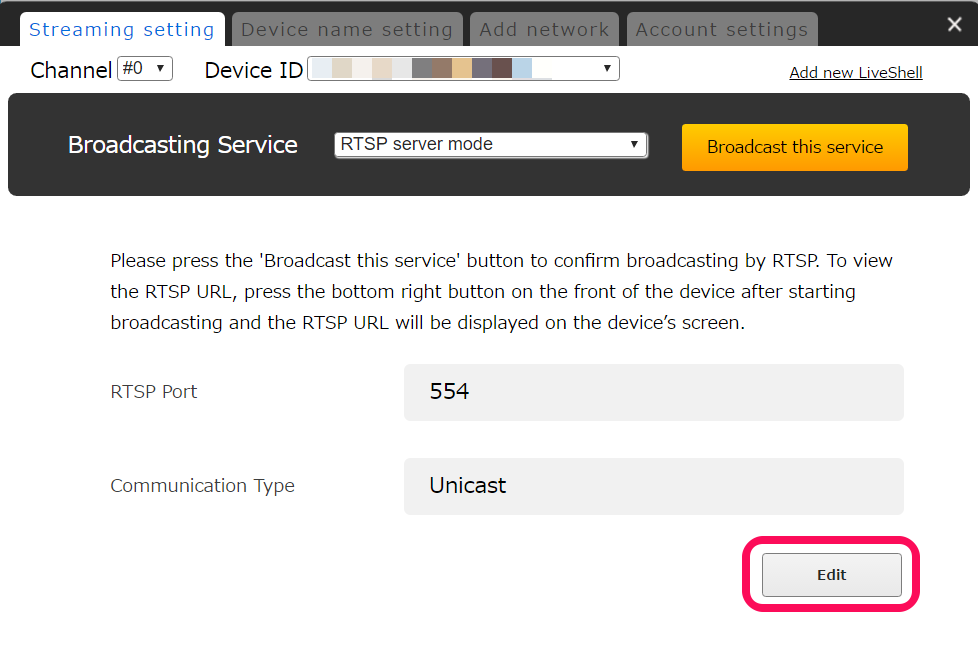
- If you want to change settings, click the [Edit] button.
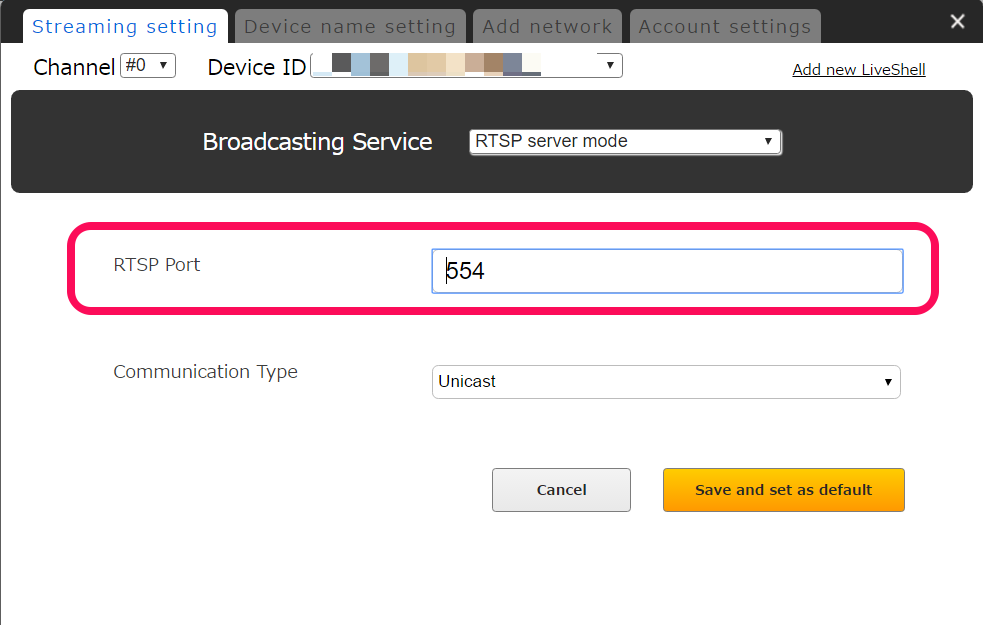
- Set the port number.
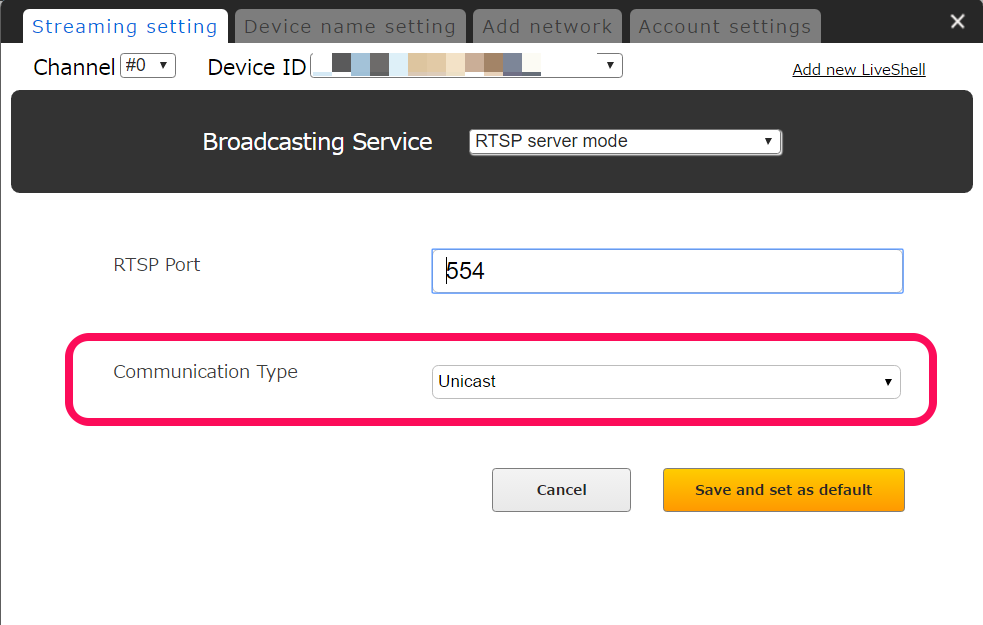
- Select “Unicast” or “Multicast” from pull down menu.
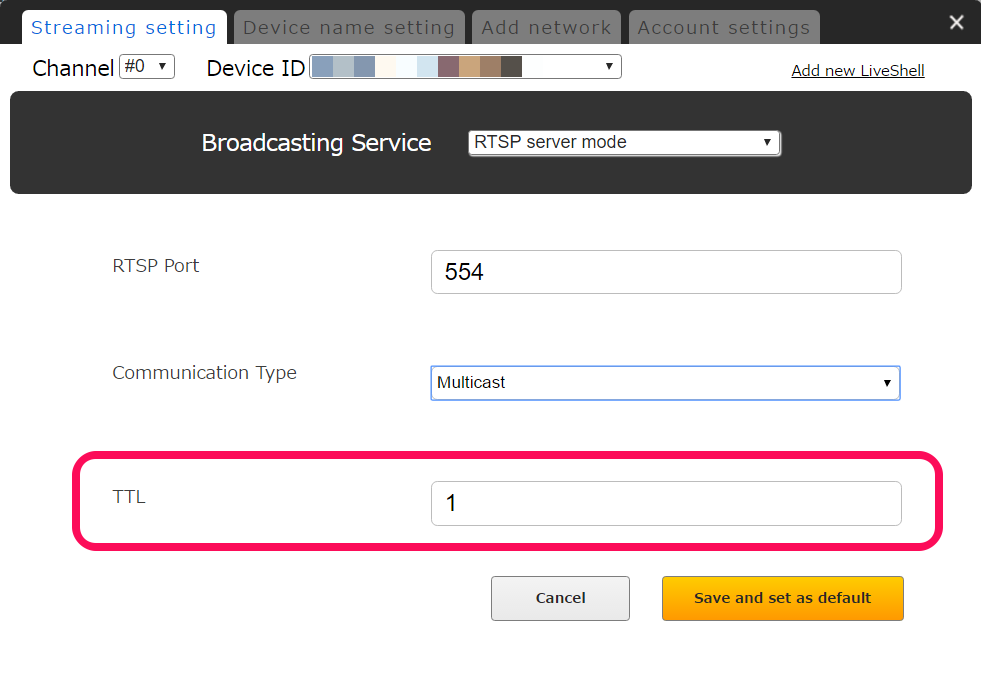
If you select “Multicast”, please enter TTL. TTL should be larger than the number of routers through which the multicast packet passes.
(When distributing to a local network, TTL should normally be set to “1”.)
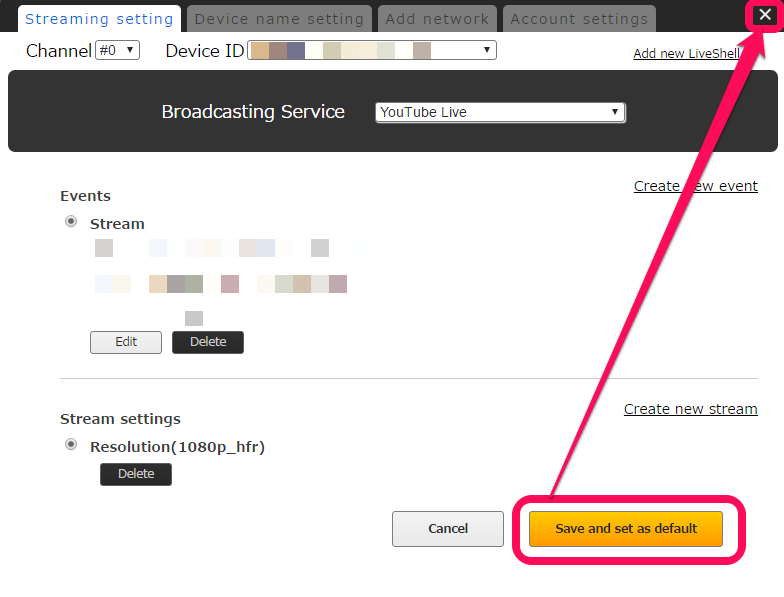
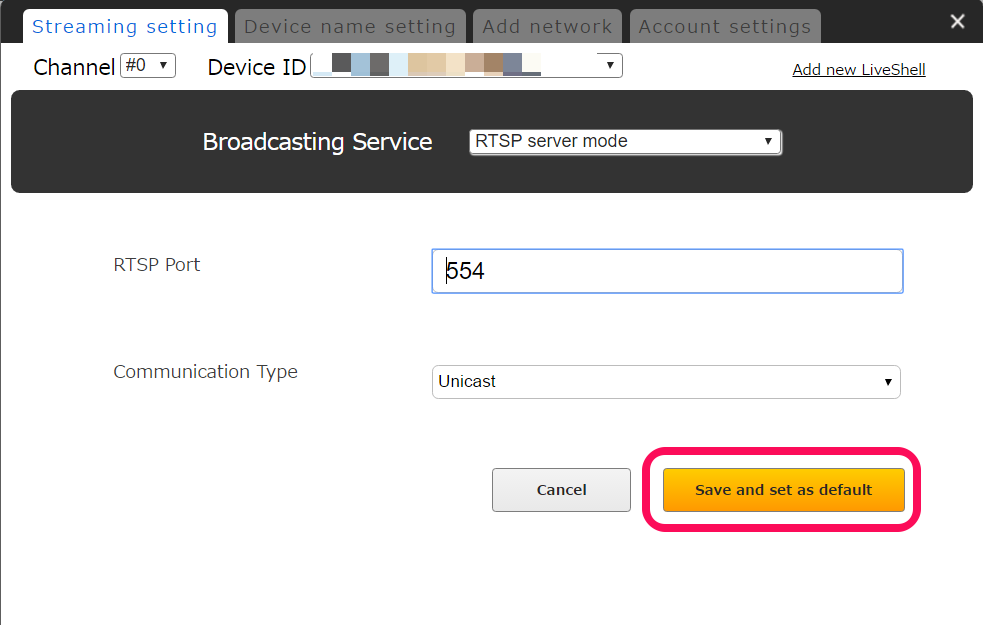
- Click the [Save and set as default] button.
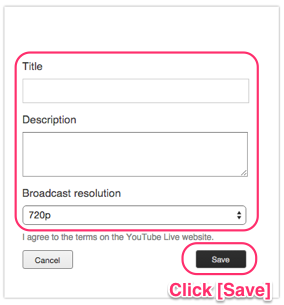
- If you want to change settings, click the [Edit] button.
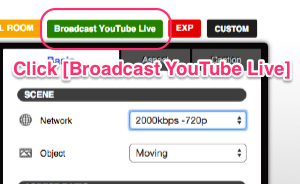
- Click the [Broadcast this service] button.
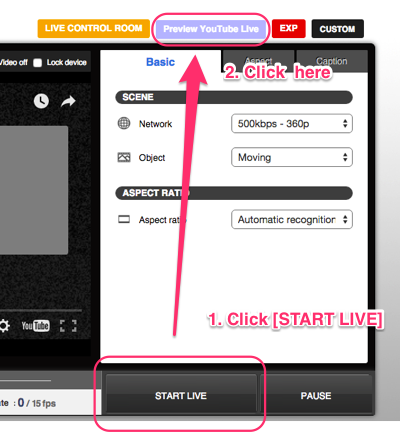
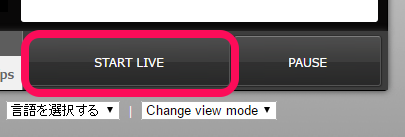
- Click the [START LIVE] button.
- Copy the RTSP URL to your RTSP player.
- Even though the RTSP video is not displayed, the video and audio quality can be changed in Dashboard.
- If the RTSP server is set up in local mode, operation by Dashboard does not work.
Receiving video/audio from RTSP server
- The LiveShell X will display the RTSP server’s URL.
- Press the bottom right button 5 times after setup is finished.
* You can not see video from the RTSP server in Dashboard.
* The following software is recommended to view RTSP server video.
Recommended RTSP players:
- Windows, Mac, Linux: VLC 2.0.5 or later
- iOS (iPhone, iPad, iPad mini): GoodPlayer
- Android: MX Player
RTSP server restrictions
- A total of three clients can access the server at any given time. More than three clients will cause distorted video and intermittent audio.
- If the video resolution or profile is changed, the client needs to restart their player.
- If the audio sampling rate is changed, the LiveShell X may switch offline and may need to be restarted.