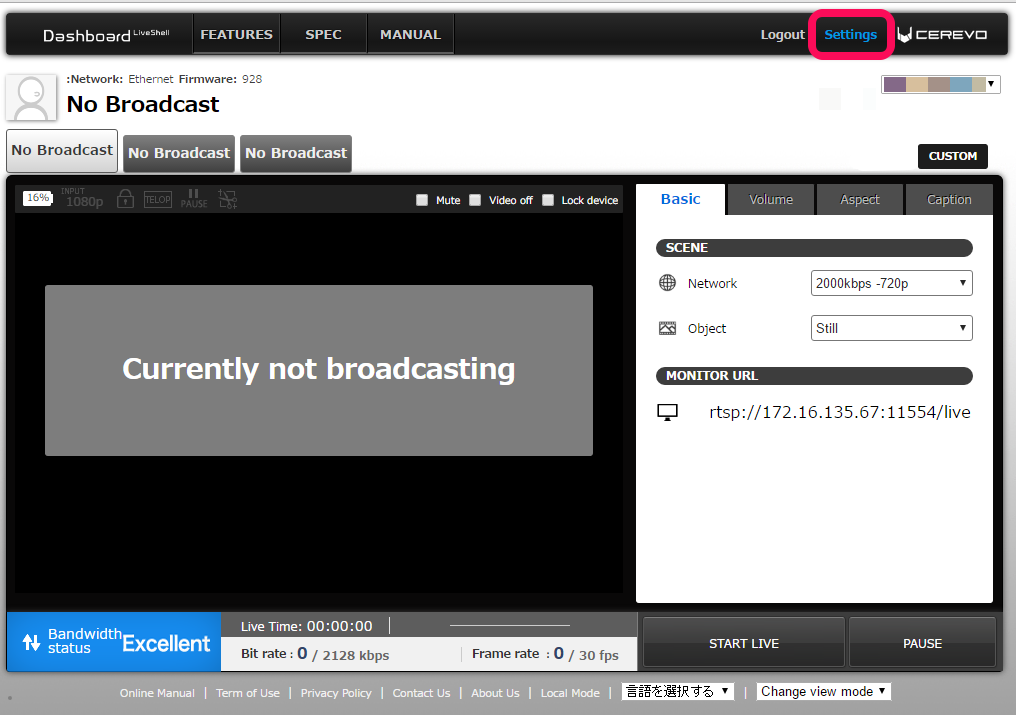
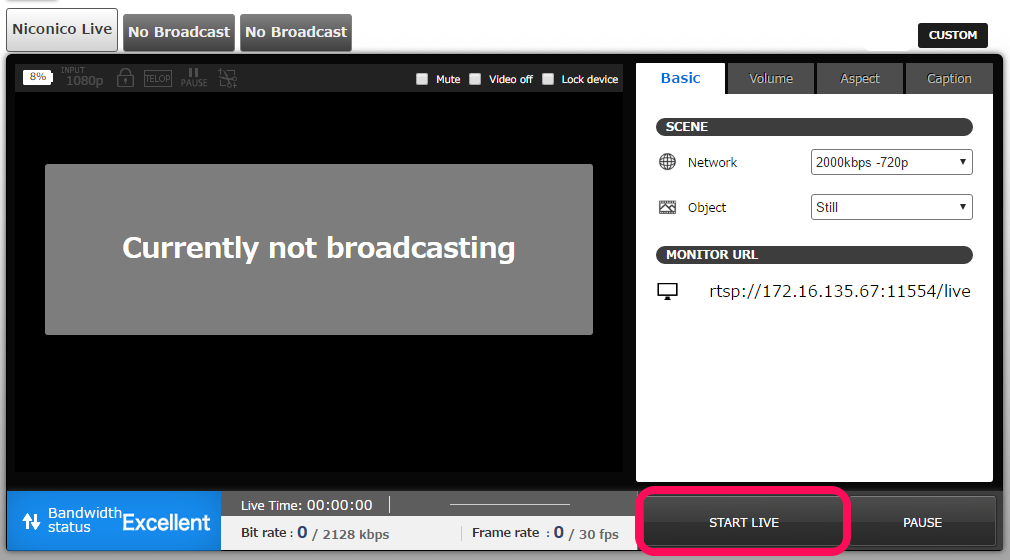
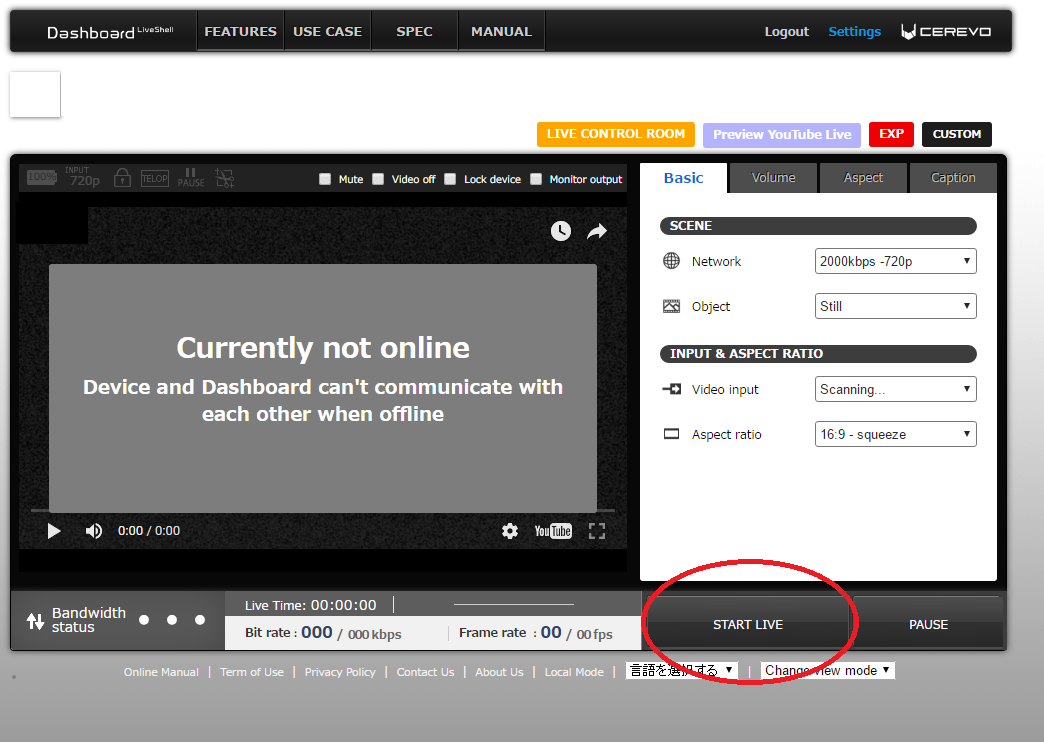
Top of Broadcast Screen
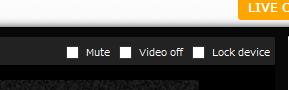
Mute: Turns off audio while video continues to broadcast.
Video off: Turns the video off while captions continues to broadcast.
Lock device: Locks the control buttons on the LiveShell X unit.
Right Menu
- Mail address
- Registered Dashboard mail address.
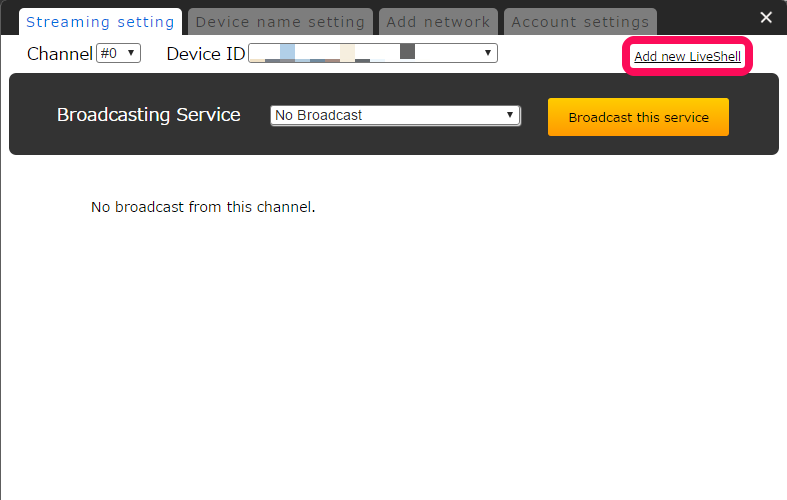
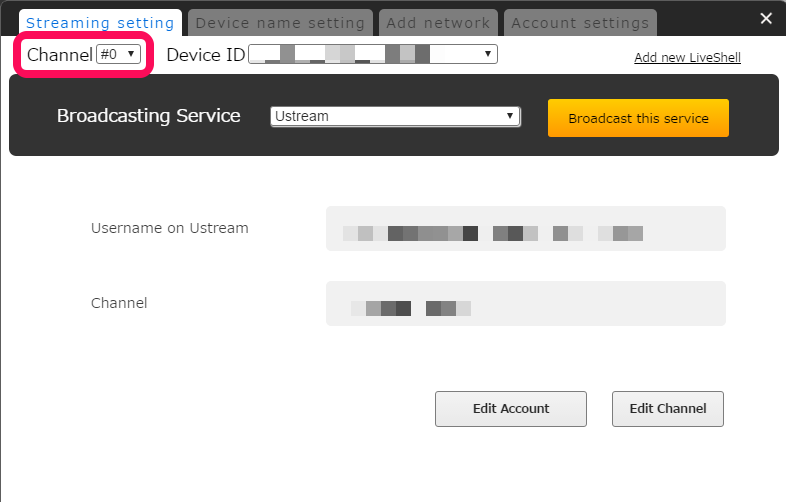
- Device ID
- When two or more LiveShell or LiveShell X devices are connected, each device can be selected.
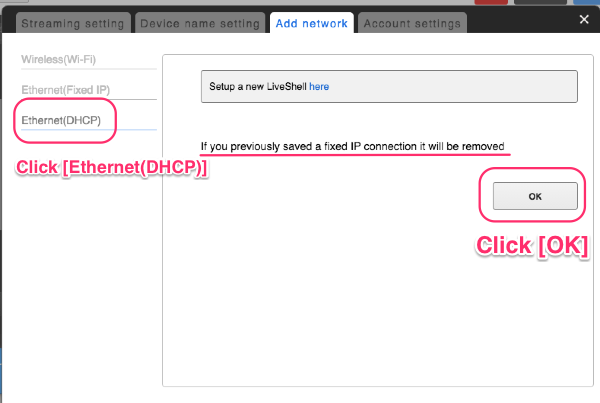
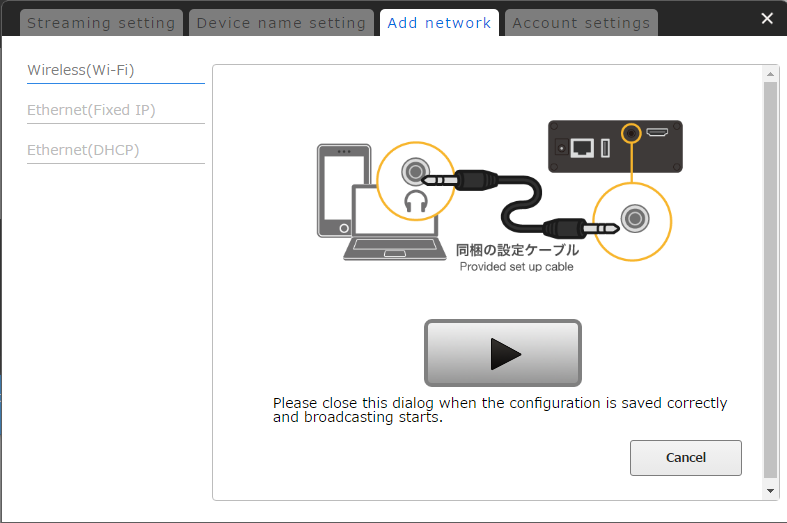
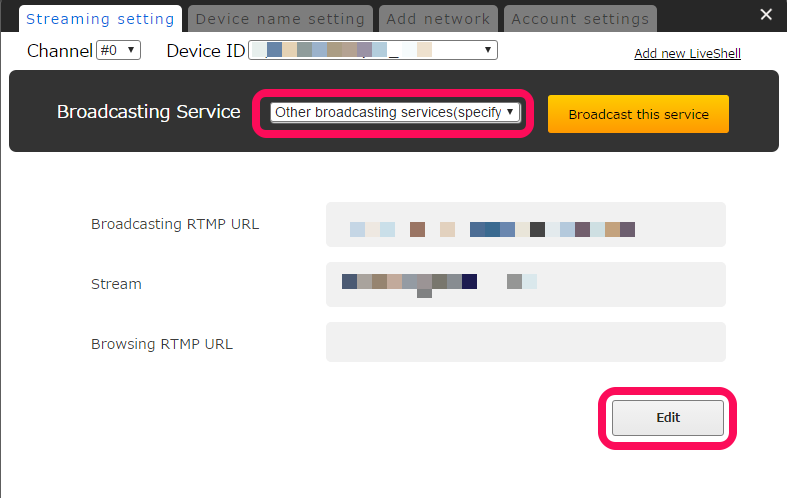
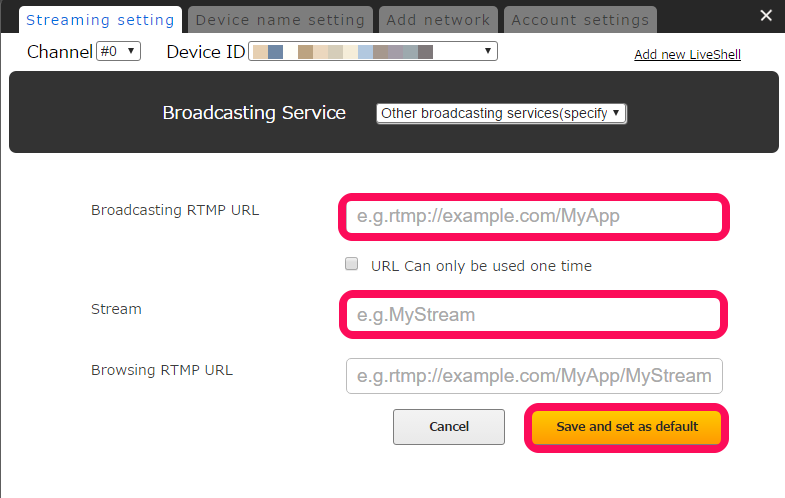
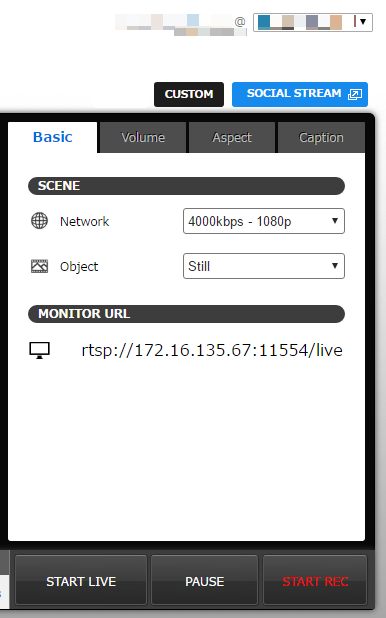
- CUSTOM
- Click this button to adjust advanced audio and video settings.
- Please note the custom settings screen is designed for users experienced with online streaming terminolgy.
- SOCIAL STREAM
- Opens a pop-up chat window during streaming. (Ustream only)
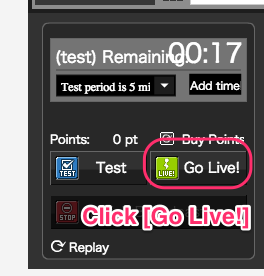
- STOP LIVE / START LIVE
- Toggle Broadcasting between Stop and Start.
- PAUSE / START
- Toggle Broadcasting between Pause and Start.
- START REC / STOP REC
- Toggle recording between Start and Stop. (Ustream only)
Basic Tab
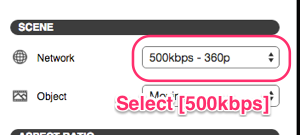
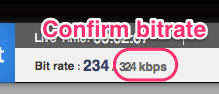
- Network
- This setting affects broadcasting video quality, and can be adjusted based on the internet connection speed.
- Object
- The default setting is “Still.” When broadcasting video with high motion content such as sports, please select the “moving” setting.
- Aspect ratio
- Adjust the video aspect ratio manually if automatic detection doesn’t work.
Volume Tab
Control audio output.
Aspect Tab
Adjust the video aspect ratio manually if automatic detection doesn’t work.
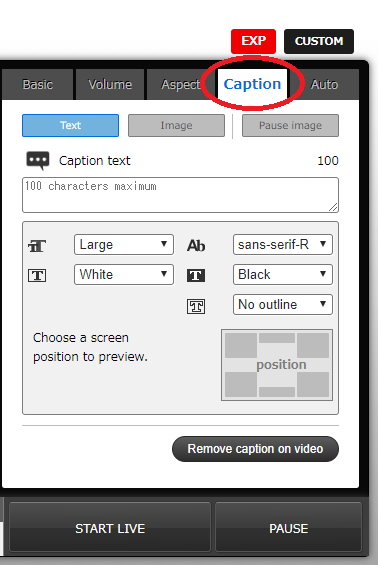
Caption Tab
See the Caption/pause image page.